
Hey everyone! Jenn here with a quick trick to get some pretty, custom flourishes on your digital pages. I was asked which kit the flowers came from on this page I made for the Feb Blog Challenge Template Freebie and the answer is ... two of those flowers came from paper packs!
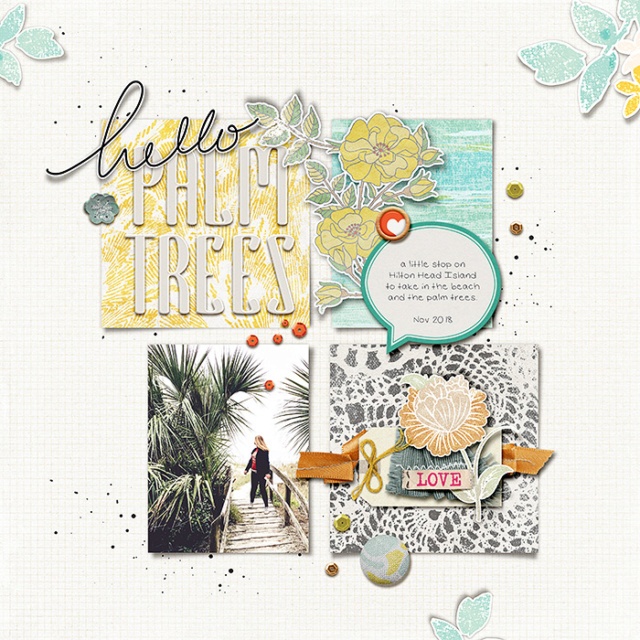
So I thought I'd make today's post about this subject ... don't overlook your patterned papers as a way to embellish your pages.
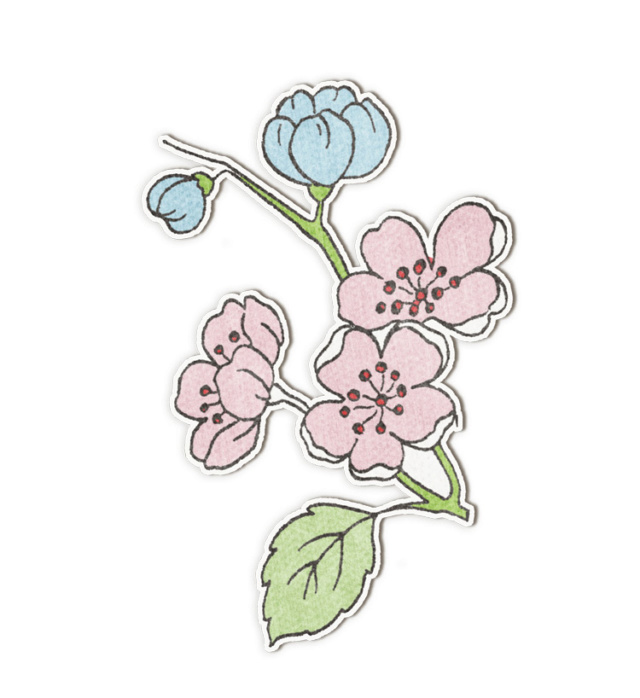
The flowers in the corners/on the edges are from a stamp found in Today Elements and then made into a sticker.
The yellow flower is cut from an older kit collab Handmade with Love with Studio Basic.
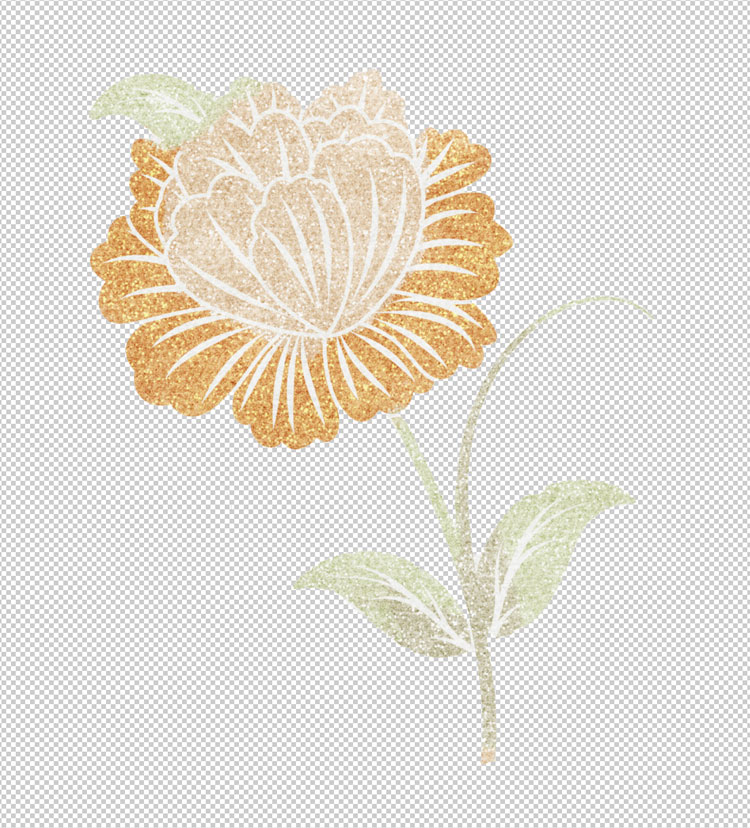
The orange flower is cut from the XOXO paper pack.
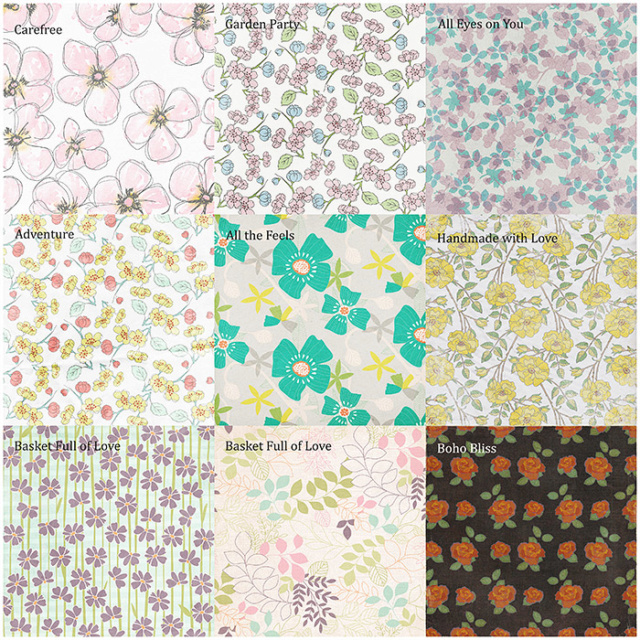
Here is a great sampling of Pink Reptile's Designs beautiful patterns (the Handmade with Love paper is a Studio 68 paper) to cut flowers from:
When I cut my flowers from papers I usually do it one of two ways depending on the background. If the background is textured, I'll usually use the Quick Selection Mask (I make the brush size really tiny. Use the Bracket Keys on your keyboard to make the brush [ smaller or ] bigger quickly.) Here's the XOXO paper and the orange flower I want to cut from the textured background.
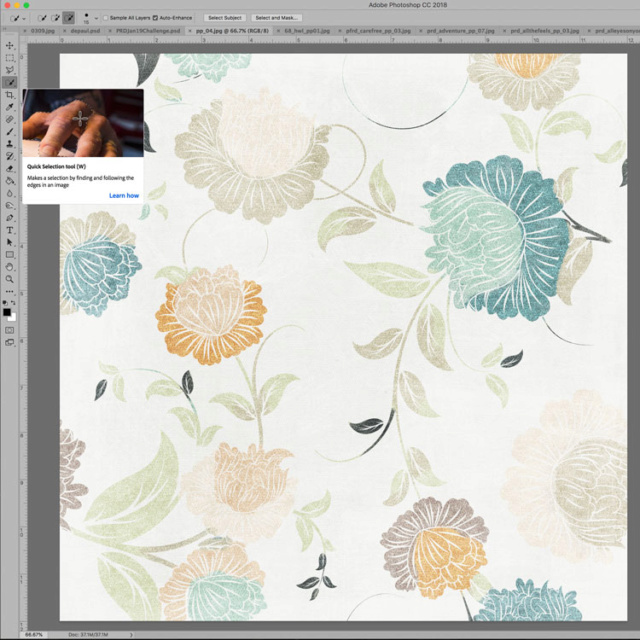
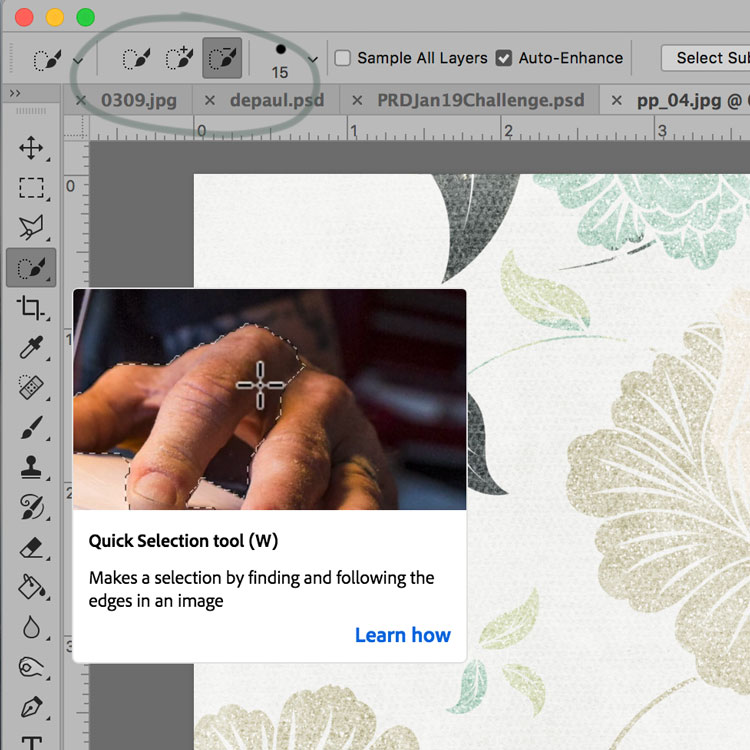
Once you select the Quick Selection tool - you use it like a brush and start brushing over pixels of the flower. You will see marching ants around everything your brush is selecting. The three buttons in the tool bar let you 1) Select pixels 2) Add to the selection (to refine it and pick up anything you missed) 3) Subtract from the selection (to refine it and remove pixels that you don't want included).
Here is my selection:
To make it into a sticker: Select all of the flower (command click on the thumbnail in the layer palette - CTRL Click on a PC). This will place marching ants around your flower. But we need a bit of border around it so go to Select > Modify > Expand and choose the # of pixels for your sticker border. I chose 9 pixels. Then add a new layer under the flower. Pick a color as your foreground (this will be the sticker background color). Making sure you are on the new layer you created (which needs to be under the flower layer) use the paint can to fill the new layer with that color. It will only fill in the area within the marching ants.
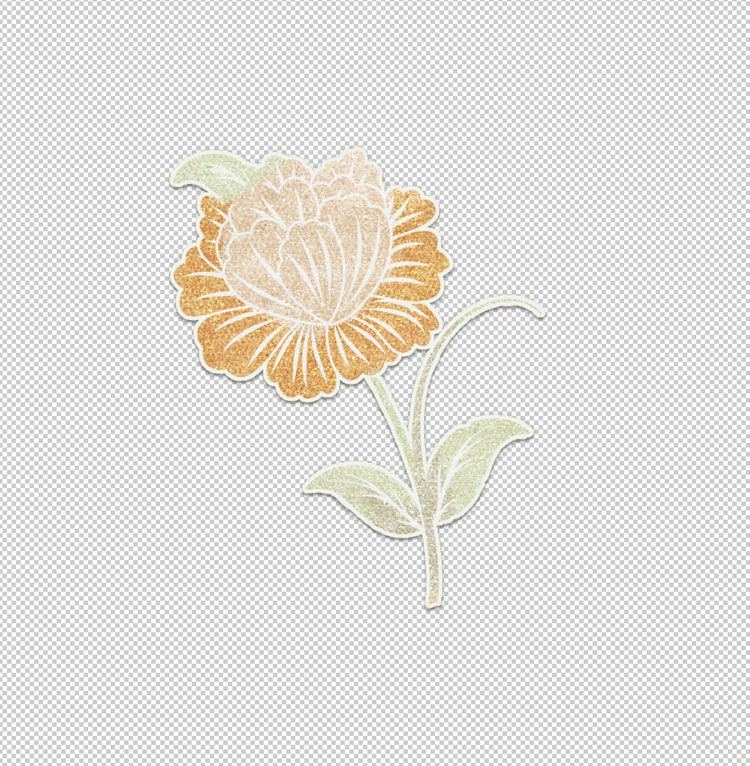
Here is my finished sticker cut from the pattern paper and ready to use on my page as a beautiful embellishment!
The other way I cut my flowers is using the Magic Wand Tool. I use this method if the background is fairly solid and not as textured. Also if the flower (or item I want to extract) has a strong defining edge like the flowers on this Garden Party paper:
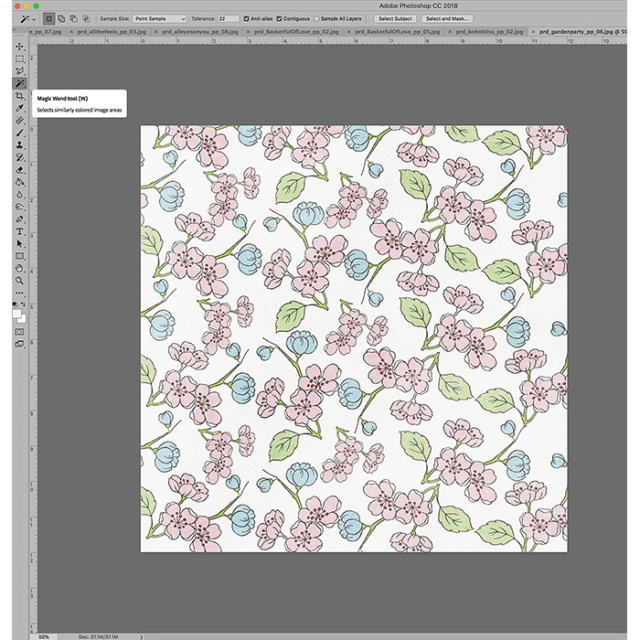
I make sure Contiguous is checked in the Tool Bar. So if there is any of that white/cream color within the flower - it will stay part of the flower and not be extracted as the background. I click on the background to select all the white/cream pixels. Then I go to Select > Inverse. This puts the marching ants around everything this is NOT the background (ie the flowers!). I do Command J (control J on a PC ) to duplicate the flowers onto a new layer. I can turn off the visibility on the original paper layer now (or just delete it) and just work on the extracted flower layer.

And now I can use a tool to cut the flower piece that I want out. I usually just use the Polygon tool and draw around the flower. I use Command J (or Control J on a PC) to duplicate that piece on its own layer.
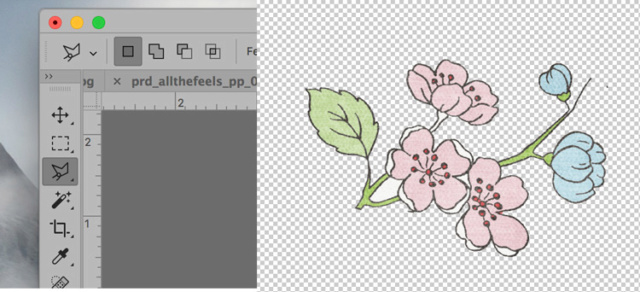
And then I can make this new cut out flower into a sticker by following the same method as mentioned above - selecting all the pixels, expanding them, adding a new layer underneath, filling in that new layer with a background color. Here is my finished flower sticker cut from the Garden Party paper.
Until next time!
Thanks for the tutorial. Great ideas - I will be looking at those papers with a new eye!
ReplyDeleteThank you for the tutorial!
ReplyDelete