
Several years ago, I created a project life album. I loved doing it but unfortunately had to stop this type of memory keeping because of a lack of time. However...I decided to begin again tghis year. It's one of my bneew year's resolutions.
For those of you that aren't familiar with the concept. The goal of Project Life is to keep daily memories for a whole year. The goal of a project life is to keep daily memories on one year.
The Project can also be called project 52 weeks or 365 project. The idea is the same: Document your life, day after day, week after week.
When you browse on the web you will finda whole lot of different types and styles to shape your personal Project Life.
The most wellknown is an album with pockets. We use journaling card and photos to fill the pocket page. This kind of project life is perfect for a novice, because the structure is done. All you's have to do is find the perfect journaling cards and photos to fill pockets.
You can find all journaling cards from PinkReptileDesigns HERE.
There's Project life with little pockets and/or big pockets, you can find them with lots and lots of journaling and ones that hardly have journaling.
Example :

By Carly Robertson (http://paisleepress.com/2013/10/carly-robertson-my-project-life-process/)

By Stephanie (http://paisleepress.com/2013/08/stephanies-project-life-week-32/)
Then there's Clean and Simple style albums but also Free Style.
For example :

By Mumkaa (http://projectlifecafe.blogspot.fr/2015/03/entrevista-mumkaa.html)
Obviously, there are digital versions and paper versions.
For example this project life that is very creative and original. It’s a hybrid project life, in C&S style

By Catherine from green fingerprinting (http://green-fingerprint.com/blog/project-life-week-13)
I will give some guidelines to help you in your project life, because, if you want do a 52 weeks, it’s not really easy to start.
The main rule of a project life is to create a Project life that looks like yourself, fits your personal style, something that inspires you and will keep inspiring you.
For mine I choose a hybrid format.
I created a page in digital format each week and at the end of the year I had all them printed into an album.
Another rule is the harmony. Harmony between your several week pages, and harmony inside each page.
Indeed, you have to choose one or two elements that will be on your all pages. This common theme will create a balance in your complete project.
This project life has the same presentation of week number for example :


By le Scrap d’Amélie (http://lescrapdamelie.blogspot.fr/2014/09/project-life-dt-cat-file.html)
But you could find other elements like background paper, black and white photos, pocket format …
Harmony inside each page is very important too.
You need to find papers and elements in correspondence with your photos. That’s why many people prefer using black and white photos because it’s easier to created harmony that way.
For example, this project life page. We see that Iggydodi choose green and brown papers and elements to be in balance with her photos :

By Iggydodie (http://scrappadingue.over-blog.com/2015/07/quelques-pages-project-life.html?utm_source=_ob_share&utm_medium=_ob_pinterest&utm_campaign=_ob_sharebar)
You could play with colours and play with the theme on your page too.
For example in this double page, I used It’s A Zoo Elements to decorate my page.
My choices:
I find that the pocket format is too strict for me. I need blank space to create my page and adapt decoration with my photos.
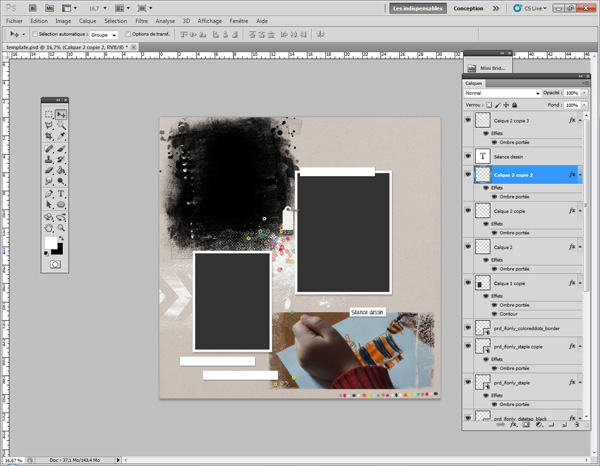
To help me to keep the balance, I created a template.
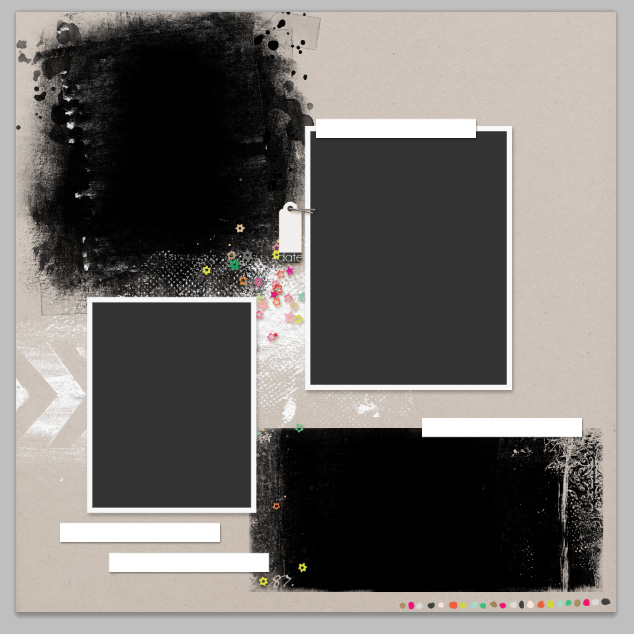
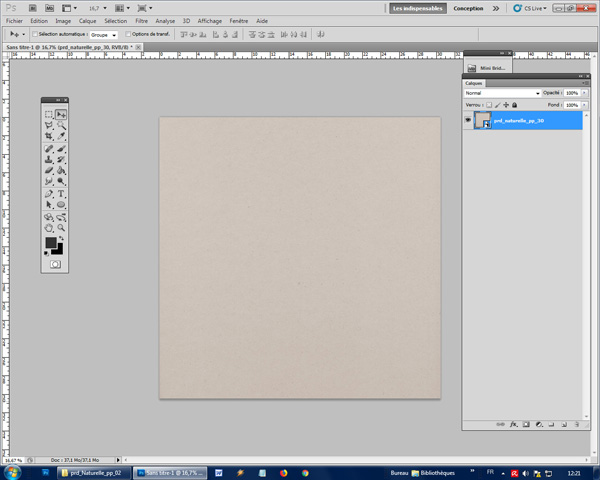
I chose a unique background kraft paper from Naturelle Papers as common theme element.
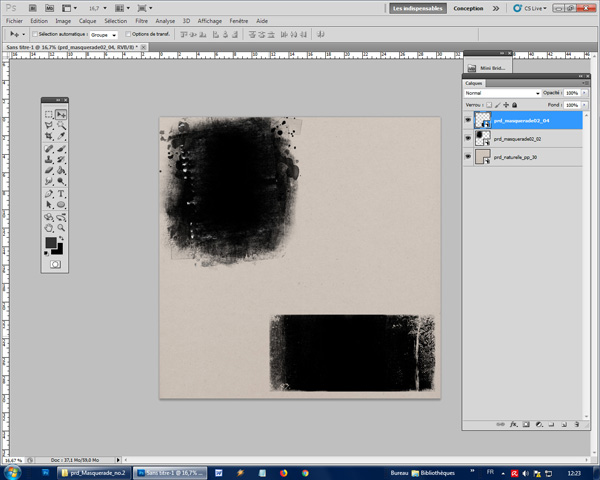
My template has masks [Masquerade no 2] and fixed elements.
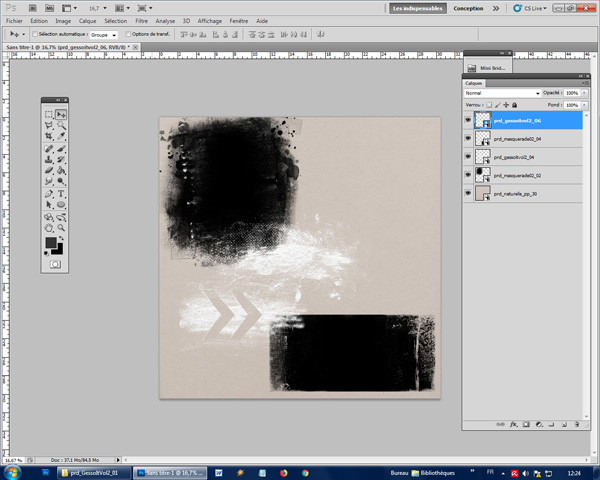
To connect all elements on my page I decided to use gesso [Gesso it]
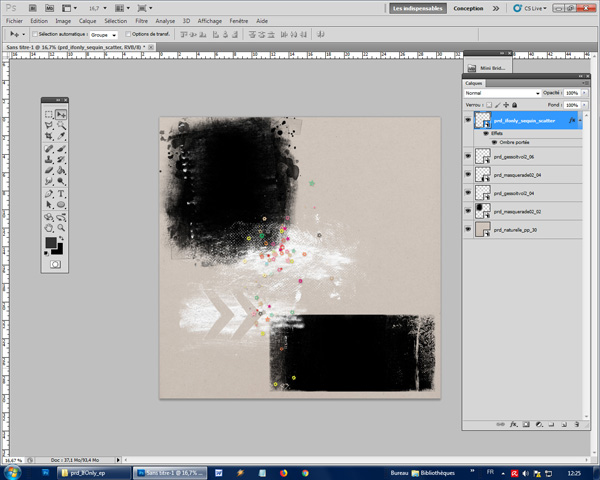
I added star-shaped sequins :
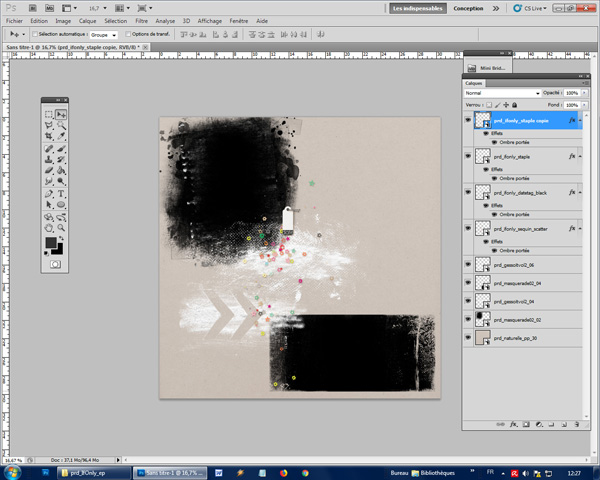
And I added a tag where I note the date / week number or month. This tag will be the same on all my pages of 52 weeks album [tag from If Only Elements]:
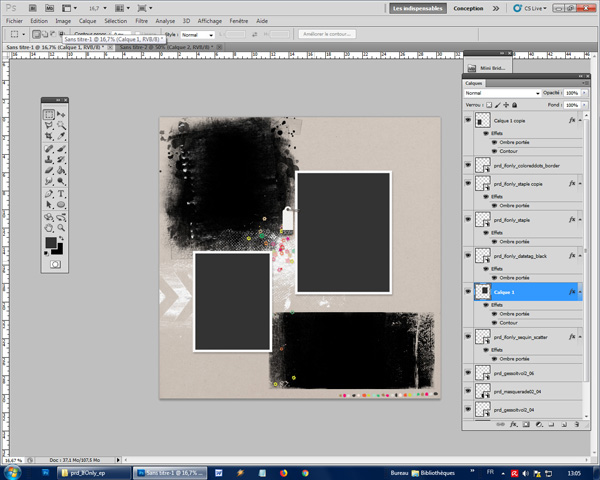
Then, I added two places for my photos with grey squares
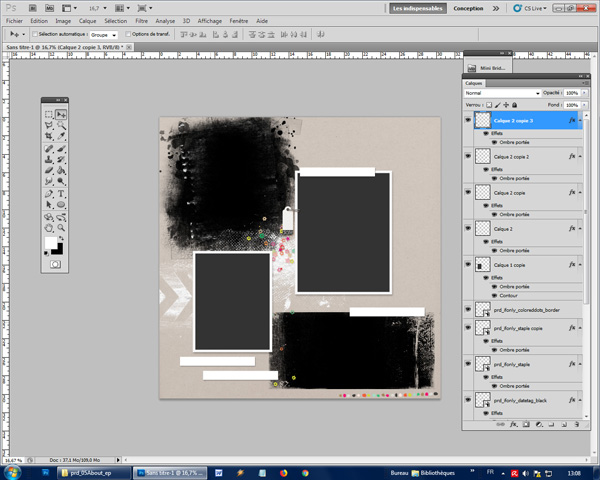
And to finish my template I added a strip of white paper for my journaling :
I am going to write all my journaling with “Throw My Hands Up” font
And with that my template is done.
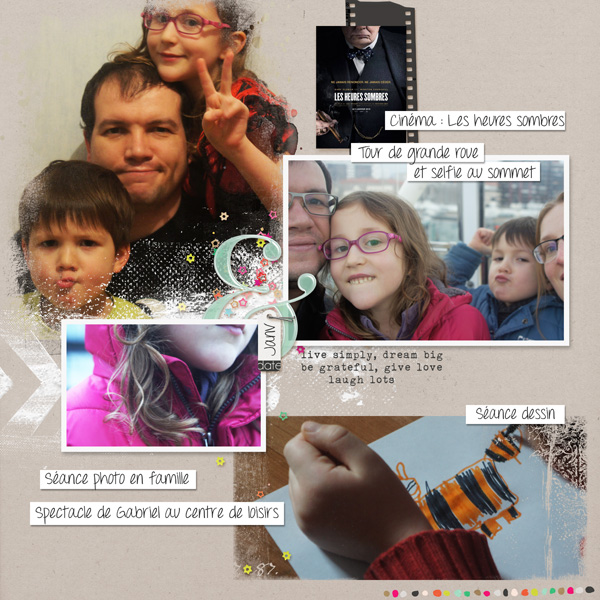
At the end of the first week, I created my first page of my album.
My finished page, created with If Only Elements
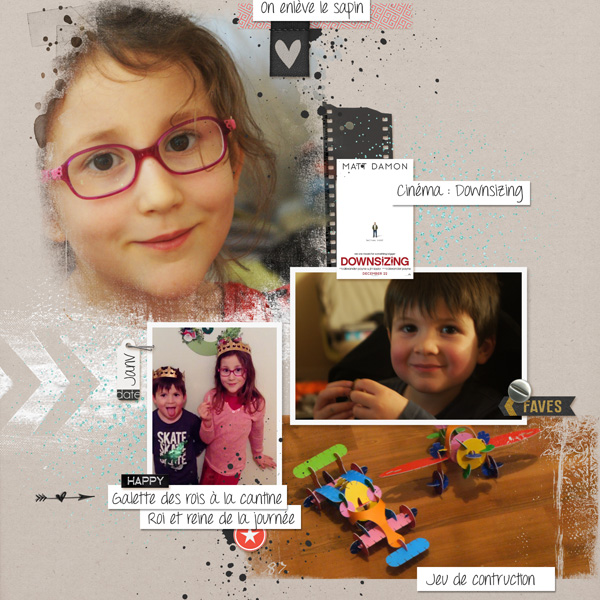
And my page for the second week :
In December, I'll show you my completed project life, once I have the album printed.
I would love to hear if you are also doing a Project Life. Maybe you would even share a link and show us?!
No comments:
Post a Comment