
OK, now, the December letter had the topic "Christmas" and that was a no brainer. I decided to go mostly with Mirjam's new "Down the chimney" products (and added a few bits and pieces from other kits). So, how to go about it with minimal fuss? Here is how:
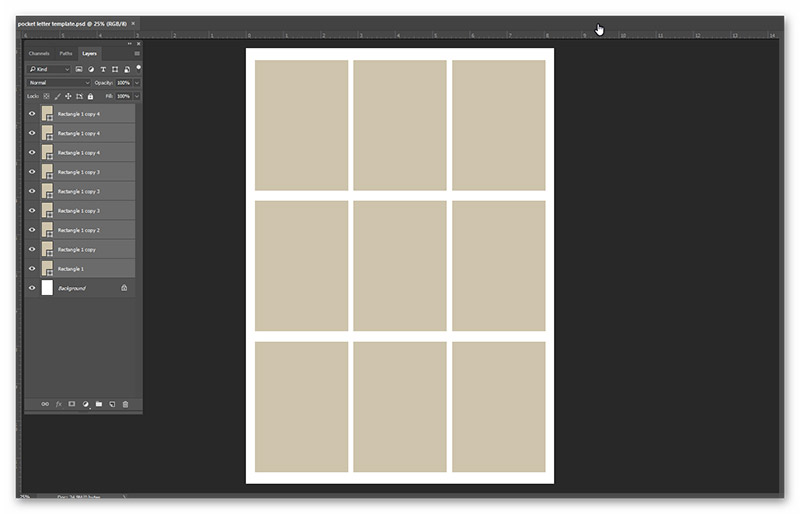
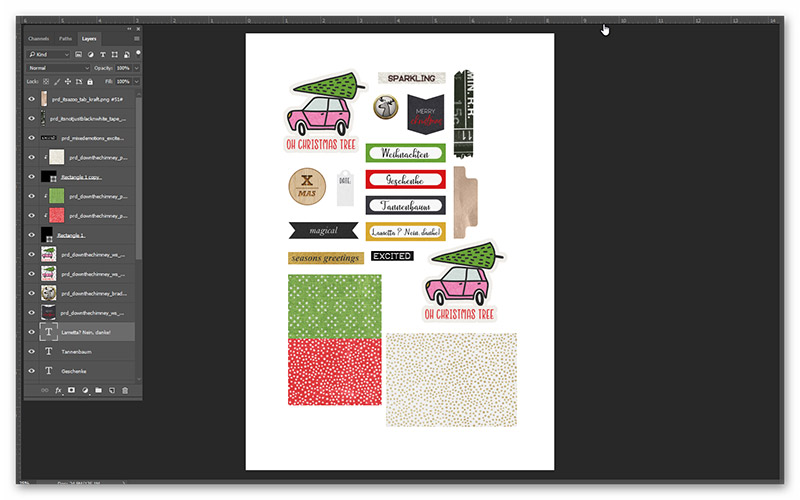
First I opened my pocket letter template with my nine cards all laid out. You can find the link to the template at the bottom of the post.
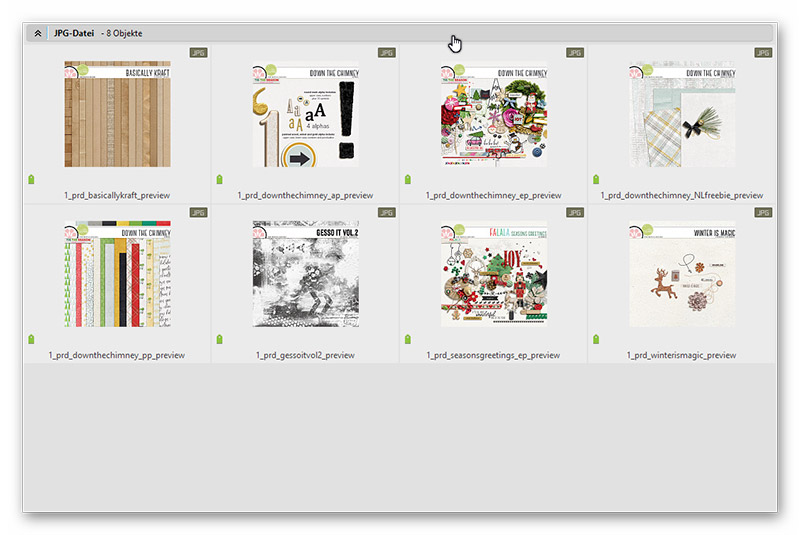
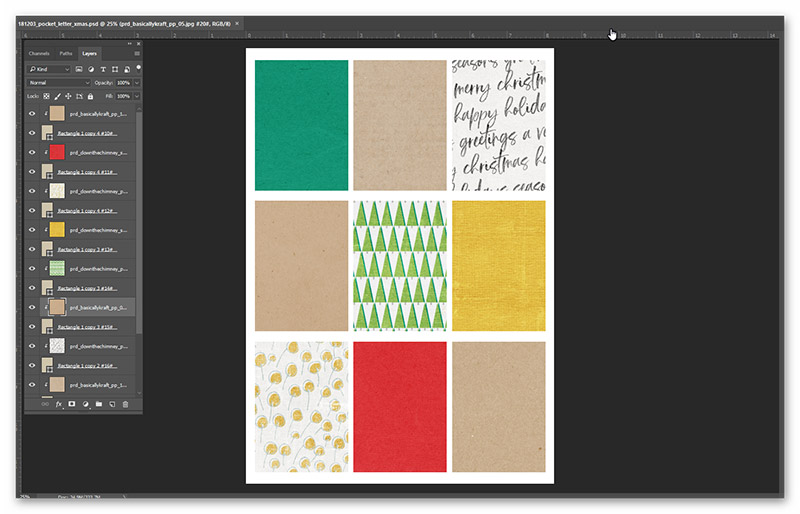
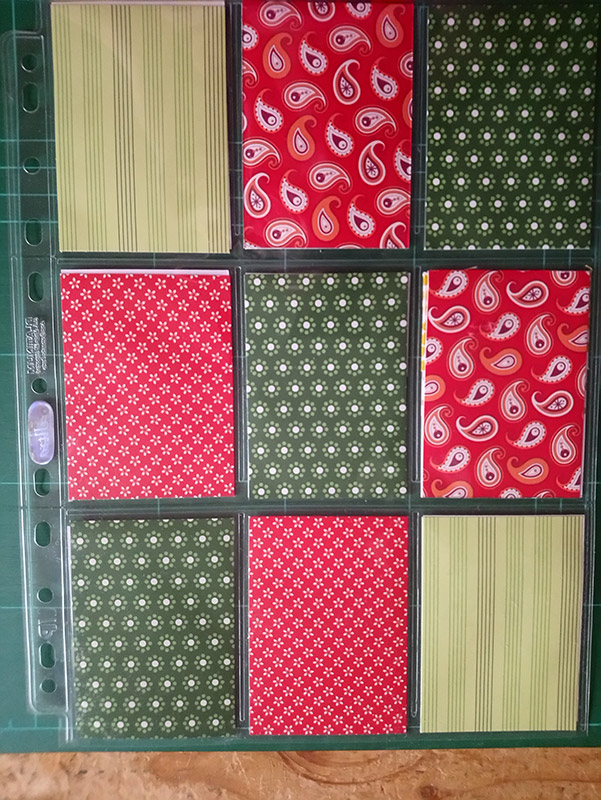
I also gathered a few supplies already in ACDSee and chose three kraft papers from Basically Kraft and six papers from Down the chimney to give each card a different background.
Just clip each paper to a card. I always kind of arrange them already in the way that I like so I can envision what the pocket letter will look like later (this is not carved in stone, however).
So this is my basic letter.
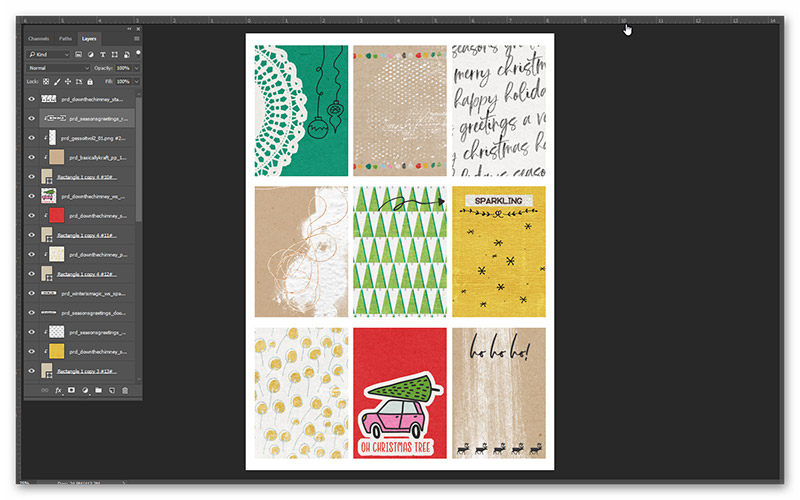
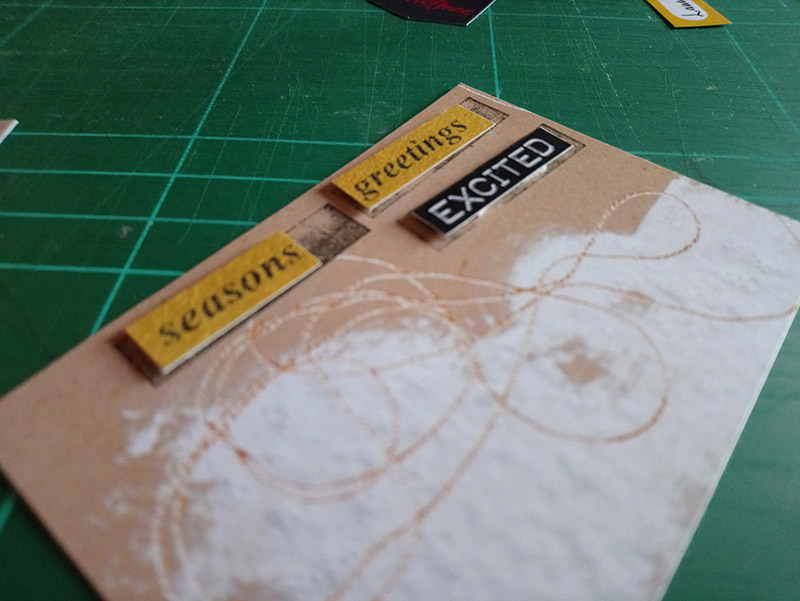
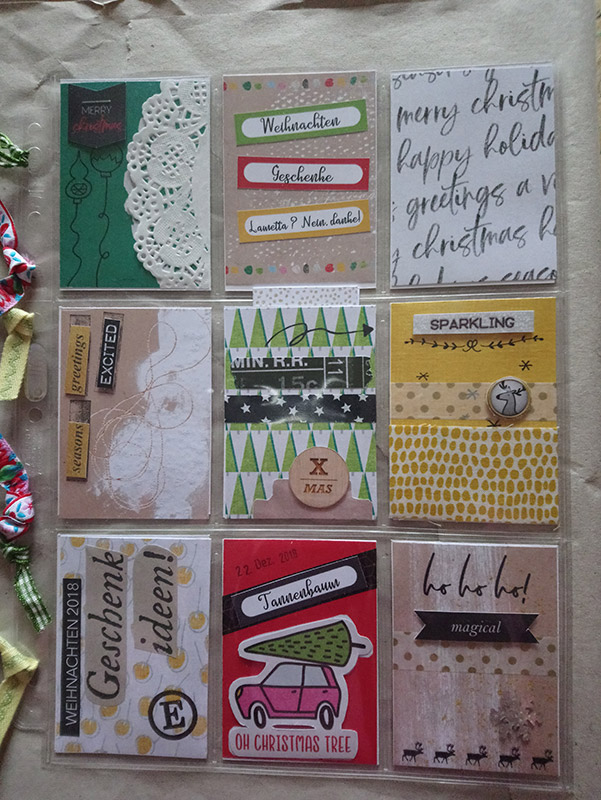
I then added some gesso to make it look a bit more artsy. Mirjam's gesso is awesome and less messy than the real thing. I also added some writing and stickers, as well as some ornaments and paint that are hard or impossible to cut out by hand.
Next I chose random elements that might or might not end up on the finished pocket letter. I normally just collect stuff that I think might look good, pull it into my pocket letter layout and resize it so it fits into a pocket. Sometimes I use larger elements that I print and then cut in half to use on two pockets next to each other (just an idea - I didn't do that with this letter). After resizing I move them to a new A4 page and arrange them there so they can be printed later. Make sure you don't place anything too close to the edge of the sheet as it might get cut off when you print. Some elements that are already on the cards I print again to stick them on top later with dimensional glue dots for a 3-D effect. I sometimes make my own wordstrips with German words or phrases to give my pockets a little international flair.
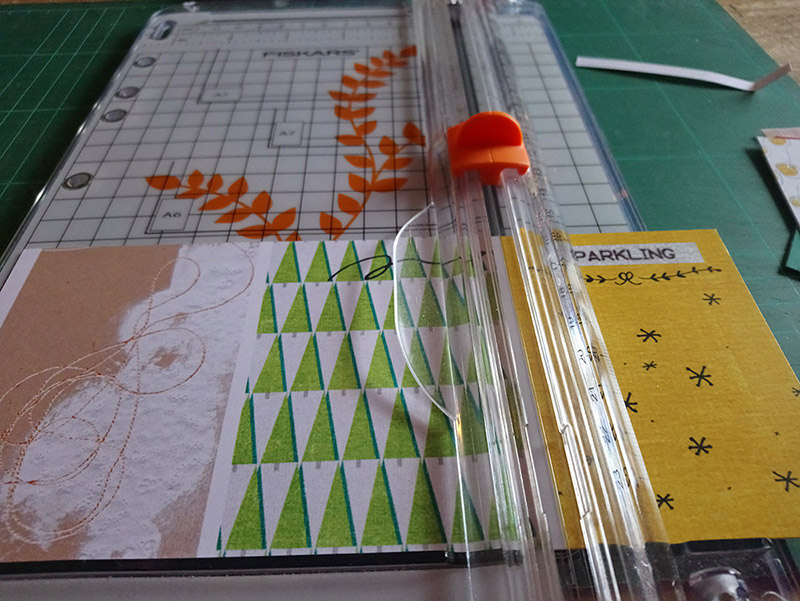
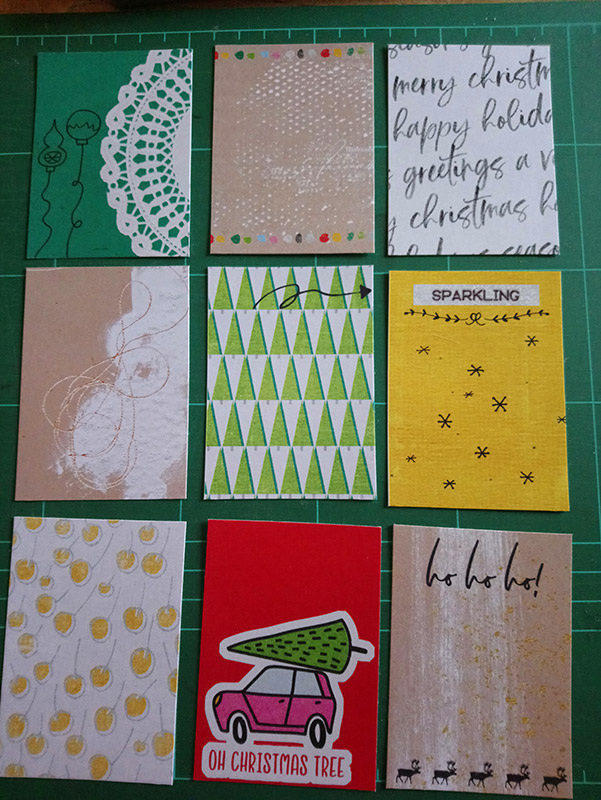
Now that I have prepared everything in Photoshop I print my two pages out on white paper. I am using HP Colour Laer paper in A4 and a weight of 200g/m². Once everything is printed I am cutting out my cards (a paper cutter really, really helps)
and lay them out.
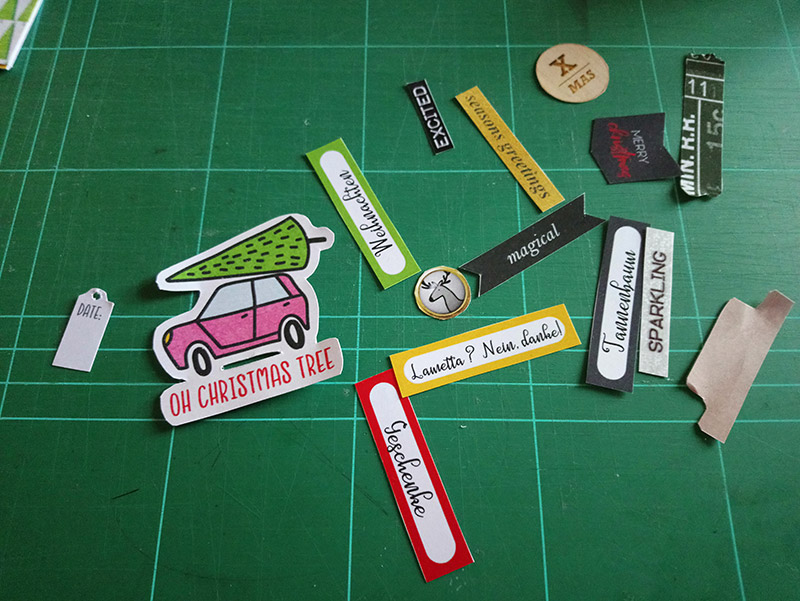
I then cut out all my elements
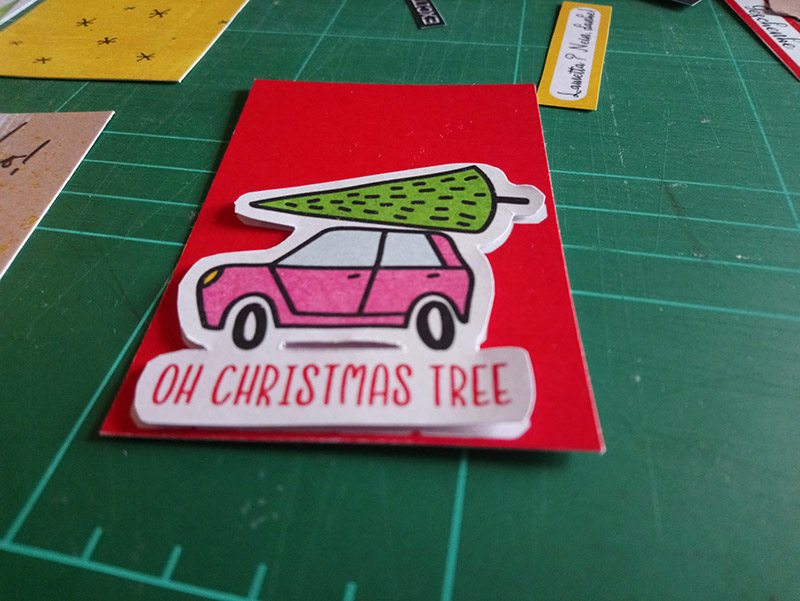
and prepare my individual cards. Those dimensional glue dots are awesome. They give your cards such a great look, even when they are put into the pockets. I LOVE them.
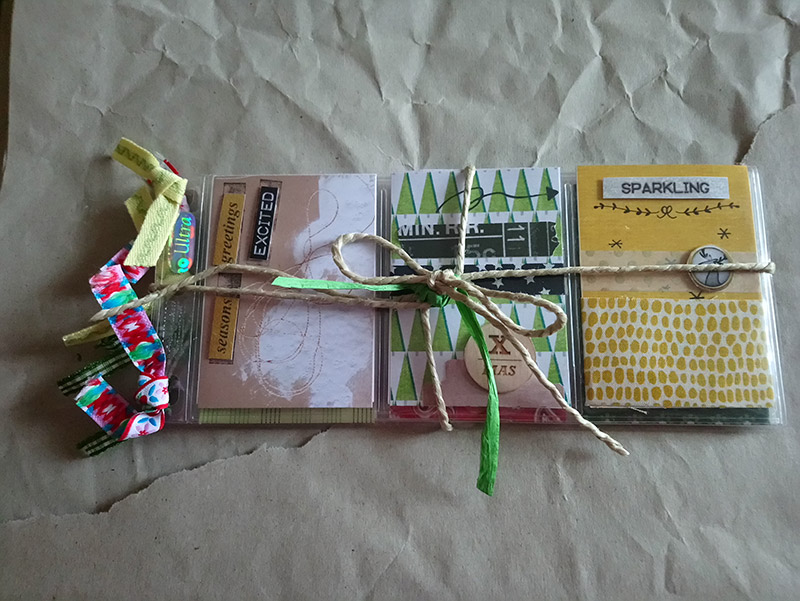
I also sometimes use some fabric (this one I got from Sokee in the November swap and it fit perfectly with my colours here, so I made use of it right away).

I stamp a little (depending on what stamps I have). Here I just stamped some rectangles that went under the 3D word strips.
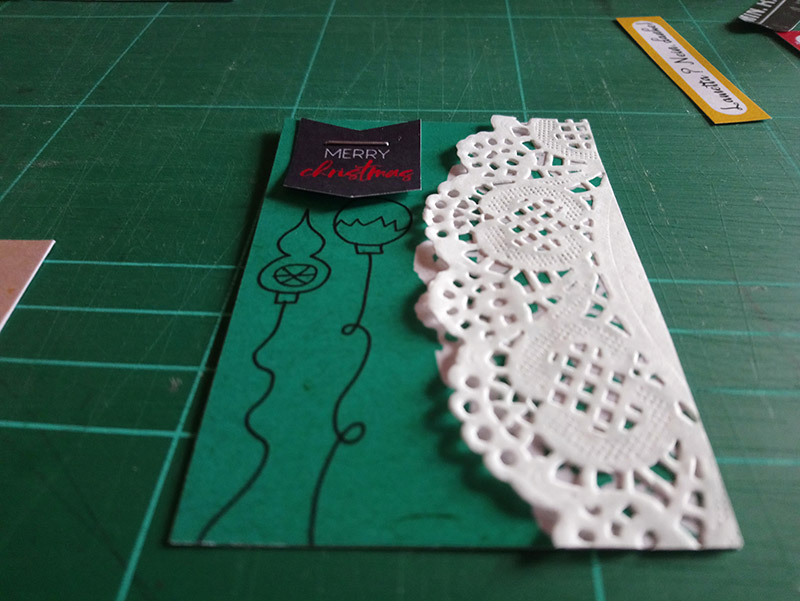
The doily that I already put on the card in Photoshop is being covered with a real doily (I never liked doilies that much, but they are quite nice actually and a pack for a few cents goes a really long way).
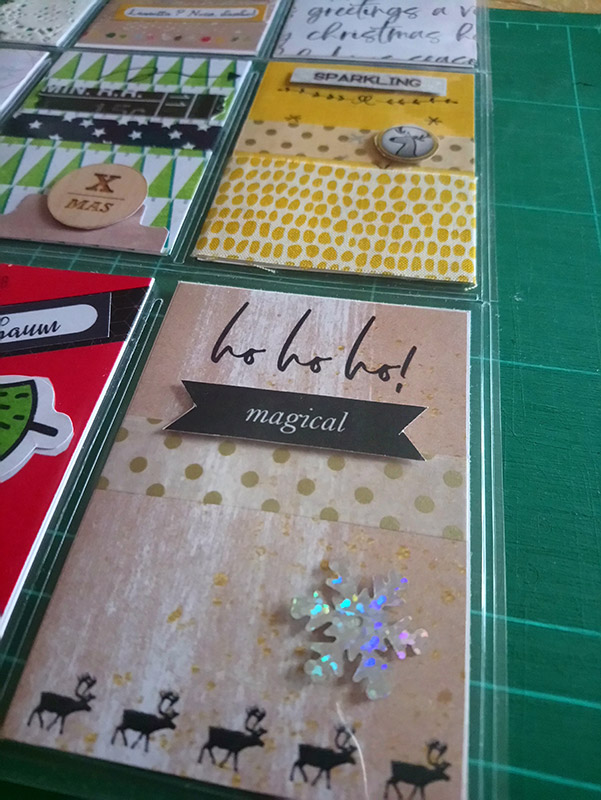
For "real life" supplies (i.e. non digi) I only used some washi tape, some adhesive ribbon, a few wordstrips from a magazine, a little silvery snowflake that I happened to find in my supply box on one of the cards
and some cardstock from a pad I already had for the back of the letter.
The punch holes I decorated with some ribbon that I also already had from my sewing days. And there is my finished pocket letter:
I added a little letter to my swap partner and to ship it folded the PL and tied it together with some string. There are tons of ideas how to wrap your pocket letter, but this time I kept it very basic.
That's it! Easy, right?
Why not download the pocket letter template HERE and give it a try. We would love to have you swapping with us. Again, here is the link to the swap at TLP: https://the-lilypad.com/forum/threads/lilypad-letter-swap-info-timeline.56657/
Credits:
Basically Kraft papers by Pink Reptile Designs; Down the chimney papers by Pink Reptile Designs; Gesso it Vol. 2 by Pink Reptile Designs; Down the chimney elements by Pink Reptile Designs; Winter is Magic freebie by Pink Reptile Designs; Falala Seasons greetings elements by Pink Reptile Designs
No comments:
Post a Comment
Note: only a member of this blog may post a comment.