 At a more leisurely pace though!
 Today, I'm going to show you a simple filter in Photoshop that can bring a colored pencil feel to your pages. It is muted, but I love the effect it creates on papers! I'm using the papers from Mirjam's newest BYOC release, Love You Beary Much! Most adorable!
Here is the starting paper pattern:

Next, choose Filter > Filter Gallery from the Menus.

Once your Filters Gallery pops up, your paper might look funny, like mine. Or it might just look the same. But, don't panie, this is normal. Sometimes, it's on the last setting you used, or a default setting. Just look on the right for the Artistic Filters and then Colored Pencil.

Once you have that chosen, play with the sliders on the right. I have 10 for my pencil width, 15 for the stroke pressure and 49 for the paper brightness.

Here is what my paper looks like. I know... it looks super blurry. We are going to try to fix that up and create clear lines and strokes.

Now, you will choose Filter > Sharpen > Smart Sharpen.

A menu will pop up. Again, move the sliders left and right and choose what works best for your paper (or photo). I have the settings at: Amount 234%, Radius 3.4px, Reduce Noise at 88%, and Remove selected to Gaussian Blur.

Once, I click ok, it runs for a second, and then my paper is a bit more clear! You can see strokes from the colored pencil filter.

here is another paper, leaves:

And, one last one, stripes.

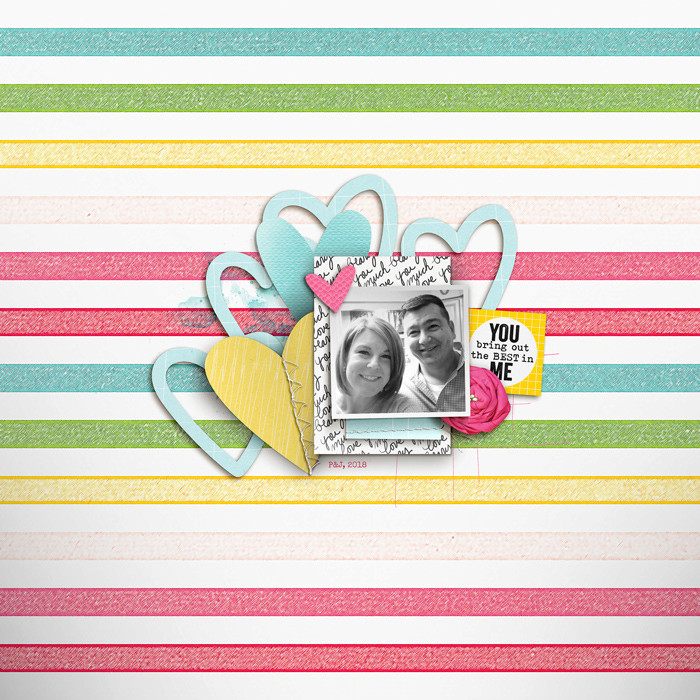
I created this layout, and used this effect on my striped background!
There you go, a fun filter! Hoping you give it a try!
Thanks for visiting!
Jenn | jk703


No comments:
Post a Comment
Note: only a member of this blog may post a comment.