
Hi Everyone!
Before I started digitally scrapping, I was a
die-hard paper scrapper. Since, moving to the digital world, I am still
very much inspired by paper layouts. At times, I still struggle with
finding just the right touch digitally. I recently decided to embrace
that struggle and use it to challenge me to find ways to incorporate
some of those paper scrapping concepts in a digital layout. This is my
very first tutorial as a Pink Lady and I’m going BIG. I’m going to walk
you through creating a layered .psd file that will be used as an
element in my final layout.
I found this particular layout on
Pinterest/Scrapbook.com and fell in love with the layout, more
specifically the fringe. With Cinco de Mayo right around the corner, why
not be inspired by a little Mexico and let’s make some fringe!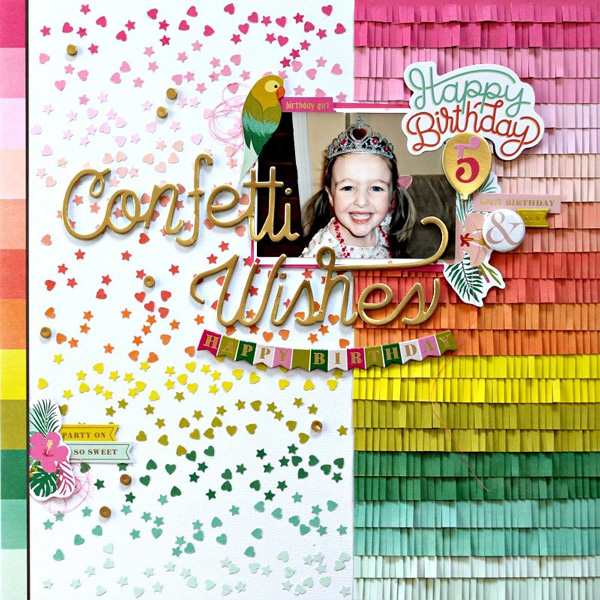
To create the fringe:
1. Start with a 12x12 sized document in Photoshop
2.
Using the rectangle tool, I made my first piece of fringe by creating a
tall slender rectangle 45px w x 450px high (feel free to use your own
sizing for personal preference). I made my fill color as gray and also
made sure there wasn’t any stroke applied & moved the rectangle to
the edge of the left side.
3. With my first piece of fringe created, I duplicated it 3 more times to get 4 separate fringe pieces.
4.
I then arranged the fringe pieces in a row where the top and bottom of
the pieces are aligned and the spacing in between the fringe pieces are
very minimal.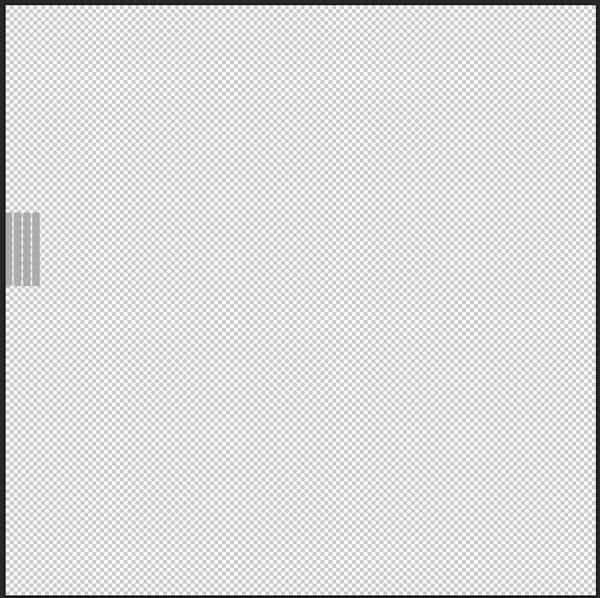
5.
I then color coded each a different color. Later on, I will be
combining these layers so the color code makes it easier to group them
(promise, it will make sense later). To color code the layer, I went to
the layer, hovered over the “visibility/eye” icon and right clicked,
this then provided me the option to choose a color, I chose red, (but
feel free to choose a color of your choice). 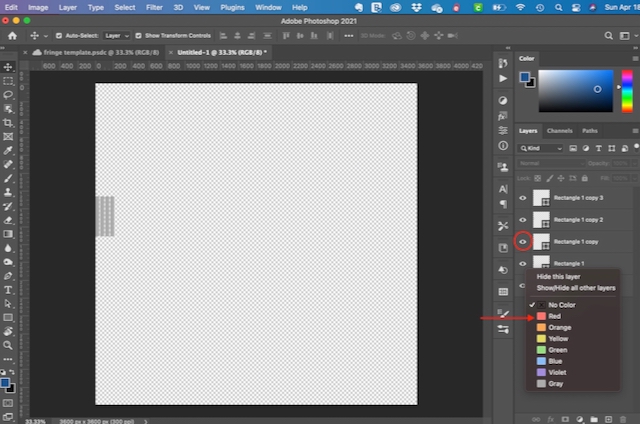
6. I repeated this process for each layer until I had 4 different layer color codes. 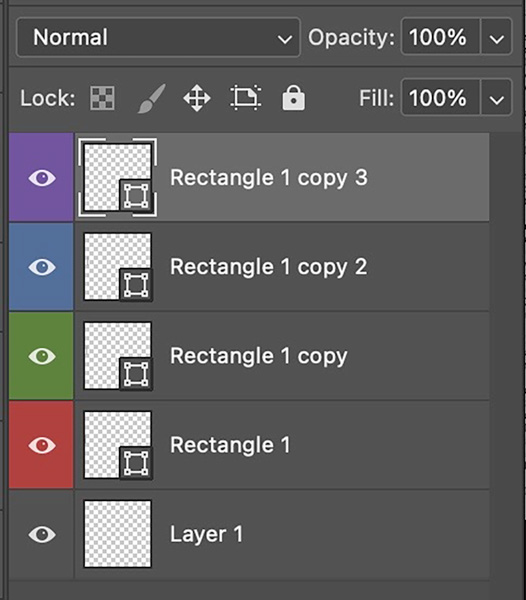
7.
The goal is to have the fringe elements go across the entire width of
the canvas. The easiest way to do this is by duplicating the current
fringe elements.
8.
Start by selecting the fringe layers and press CNTRL + J/Command + J
(shortcuts for duplicating). The duplication, stacked the copy on top of
my original, so while they are still selected, I moved these elements
so that they are now beside my original.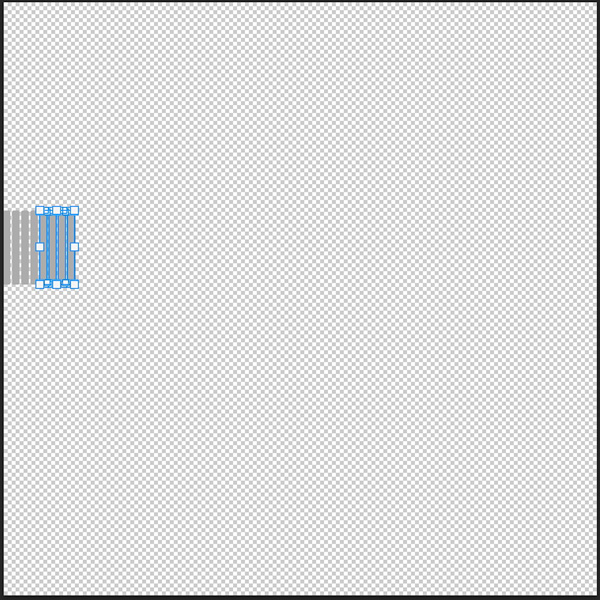
9. Repeat steps 7 & 8 until the fringe elements go across the whole width of the canvas/page.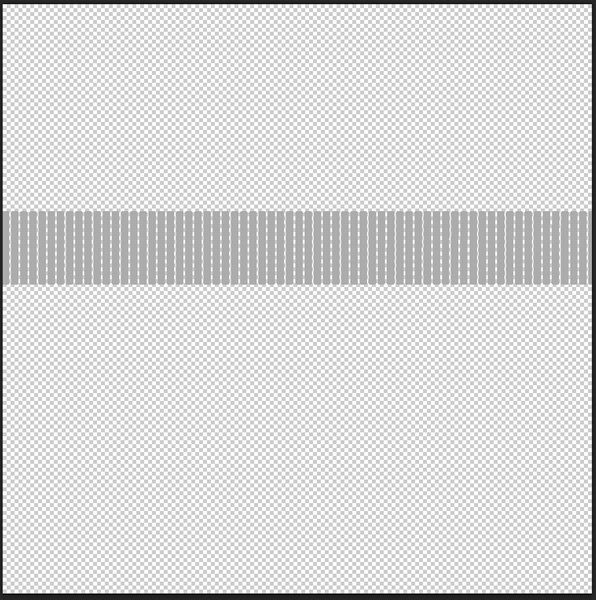
10.
Next, I grouped the fringe layers by the layer color code. To do this, I
started with the bottom layer (I started with my red layer), while
pressing CNTRL/Command, I then clicked on each layer that had the red
color code. 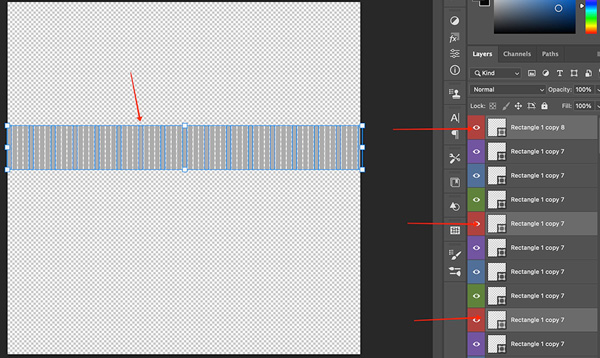
11.
Once all the red coded layers were selected, I then merged all these
layers into one layer. To do that, I pressed CNTRL + E/Command + E.
12.
Repeat steps (10 & 11 for each color code). After repeating for
each color code, I was then back down to 4 color layers.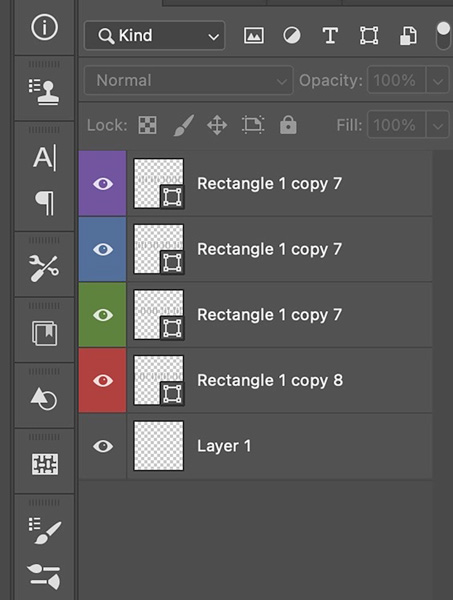
13.
I then added a band across the top like what you would normally see in
fringe. I did this by using the rectangle tool and creating a rectangle
that was the width of the canvas and approximately 280 px tall (you can
make this to your personal preference as well). I made the fill gray
and no stroke.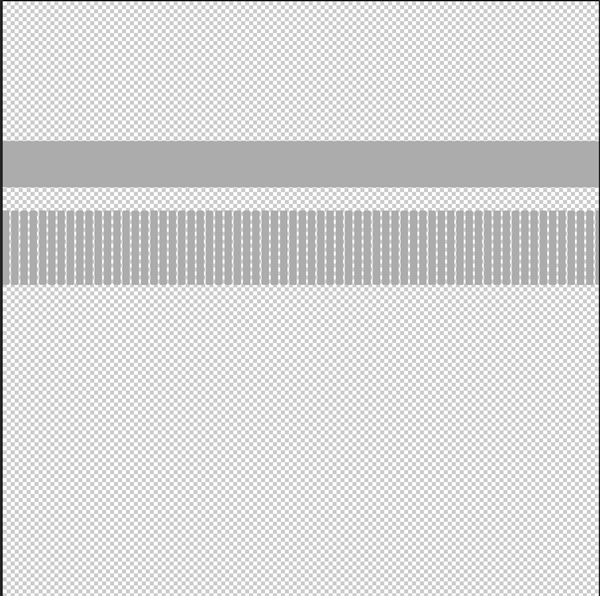
14.
I then moved the band down to overlap the top edge of the fringe. I
overlapped approximately half of the band onto the top of the fringe.
15.
When you look at fringe in real life, it generally doesn’t lay flat and
some pieces curl up more than others. To achieve this look, I warped
color-coded layers to different degrees.
16. I selected the red
layer, clicked edit from the main menu, selected transform path and then
selected warp. The warp selection gives you these little “dot handles”
to use to warp you image, I just nudged all the dots at the bottom of
the image up slightly. 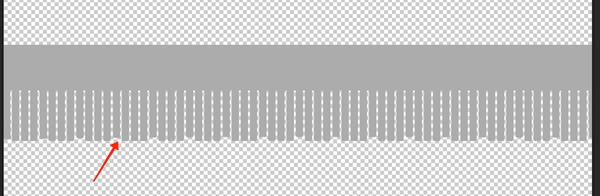
17. For the green layer, I repeated step 16 except, I nudged the dots up and very slightly to the right.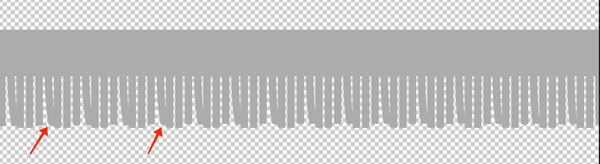
18. For the blue layer, I repeated step 16, except, I nudged my dots up and to the left slightly.
19.
For the purple layer, I repeated step 16, except I nudged the dots on
the end up and slightly to the right and 2 dots in the middle up and
slightly to the left.
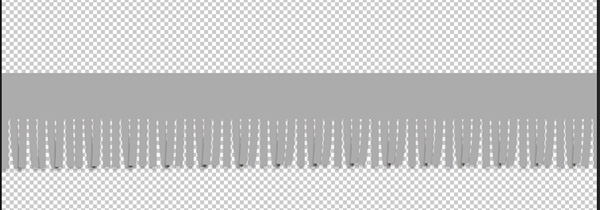
20.
I then added a drop shadow to each layer except the rectangle band
across the top. Since this isn’t a merged element, you want that to
remain flat, so do not add a drop shadow to it. For the fringe layers, I
added the drop shadow with the following characteristics:
ii. Opacity 42%
iii. Angle 90 degrees
iv. Distance 18
v. Spread 0
vi. Size 15
vii. Quality: Contour-Linear
viii. Unselect layer knocks out drop shadow
21. The completed fringe should look similar to this after the drop shadow is applied.
22. To save this for future use, be sure to trim and save as .psd. To trim, select image from the menu bar/ trim/ transparent pixels. (Make sure your background doesn’t have a color layer or this won’t work). Once trimmed, save it to your preferred location.
Note: This fringe works best as a layered .psd file/element as this approach gives the fringe a more realistic fringe look. Also, feel free to play with the warping and shadowing and tweak to your preference.
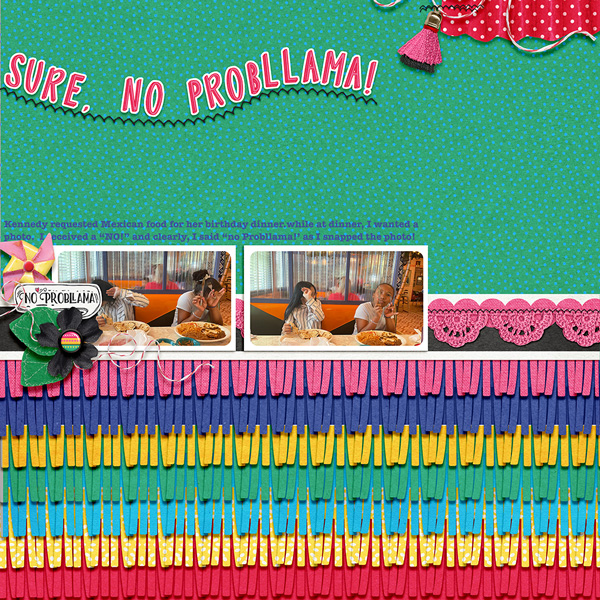
NOW.......Let's see how this fringe looks in a layout!
Here’s the layout I used with the fringe that I just created. I used “No Probllama,” the entire collection for this layout. I started with a template and added the fringe as a background element. Each row of fringe, has all five layers present. I clipped my paper choices to each layer in each row of fringe.
Hope you enjoyed this tutorial and have fun with this! I hope that you give this fringe a try and can't wait to see how you make it your own!
omg Esther! You're officially insane, in the best way. This looks positively REAL. Not sure I have the patience for this, but it is spectacular. you rock.
ReplyDeleteLOL. Sorry, Just seeing this comment. Insane is a word been used to describe me on a regular basis. LOL. Look at it this way, you do it once and you have it forever... LOL. Like how I did that? LOL. xxxxxx
ReplyDelete