
A lot of layouts with Pink Reptile Designs products are pretty much in the "traditional" paper style. But Mirjam has lots of elements and papers that can easily be used for layouts in a mixed media style.
Today I am creating a page which is really easy to make and has a very nice blended "artsy" look.
You can watch me making the page on the following video, below I have written down the steps I used. Obviously you can change anything you want, the technique is definitely not written in stone. Especially the framing of the photo is totally up to you. Just use a photo with a stroke, a regular frame, a mat or any other look you want.
For links to all products used go to my gallery post at The Lilypad HERE.
1. Arrange the masks and resize as desired.
2. Add your background paper and clip the other papers to the various masks to achieve a nice blended look.
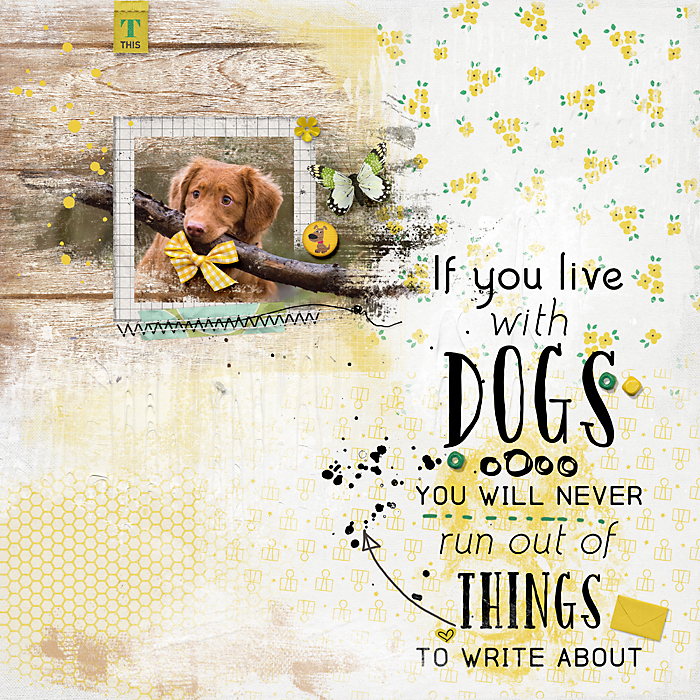
3. Add the photo. I used a technique with a rather flat frame, two masks and a duplicated photo to make it look like the photo is spilling over the frame a bit.
4. Add your title & journaling. I have used a quote and played around a bit with the size, but ended up leaving it rather big.
5. Add your embellishments. Gesso gives nice additional texture. But all sortts of stamps, paint and/or textural brushes will be perfect, too. Play with positioning until you are happy. Add some dimensional embellisments, if you like. If you use an element that has someting in it you don't like or if the postion is wrong, just cut it and either remove it completely or change the position of the individual components (like I did with the small scatter pieces).
6. Add your drop shadows (if you haven't done that already along the way).
DONE!
If you have any questions, please just let me know in the comments.
Rikki, Thanks for sharing. I love watching process videos, especially for digital scrapbooking. :-) It was so fun watching this!
ReplyDelete