
Several days ago, I came up with the idea to make a terrarium out of papers.
A quick search on the Internet gave me many ideas on how to go about this and I went for this one:

For my project I used cacti from "Homebody" designed by Pink Reptile Designs.
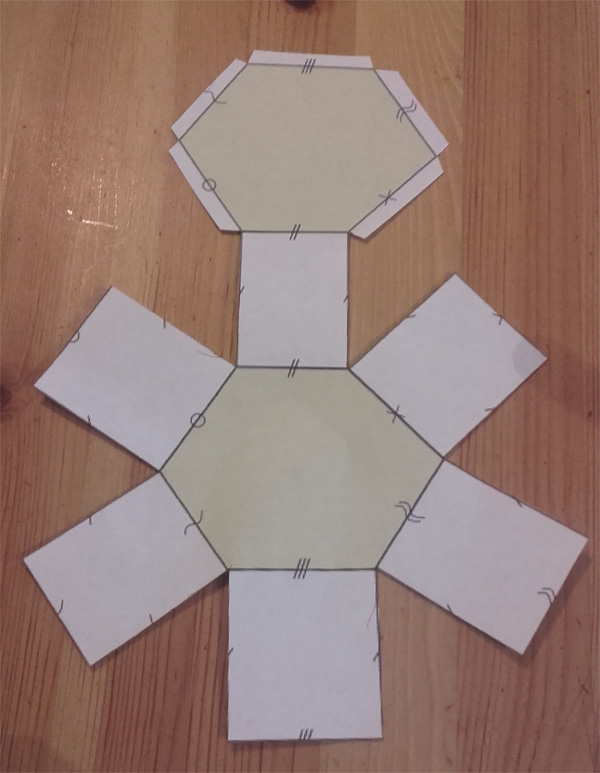
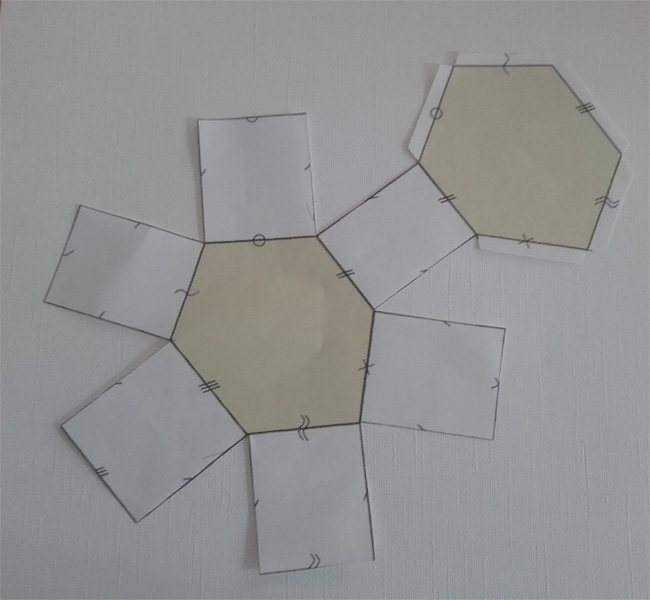
I went and searched for a box template in sort of a gem shape that would be perfect for my terrarium. I found this one that worked like a charm!
I just printed it and cut it out.
For my project I used cacti from "Homebody" designed by Pink Reptile Designs.
I went and searched for a box template in sort of a gem shape that would be perfect for my terrarium. I found this one that worked like a charm!
I just printed it and cut it out.
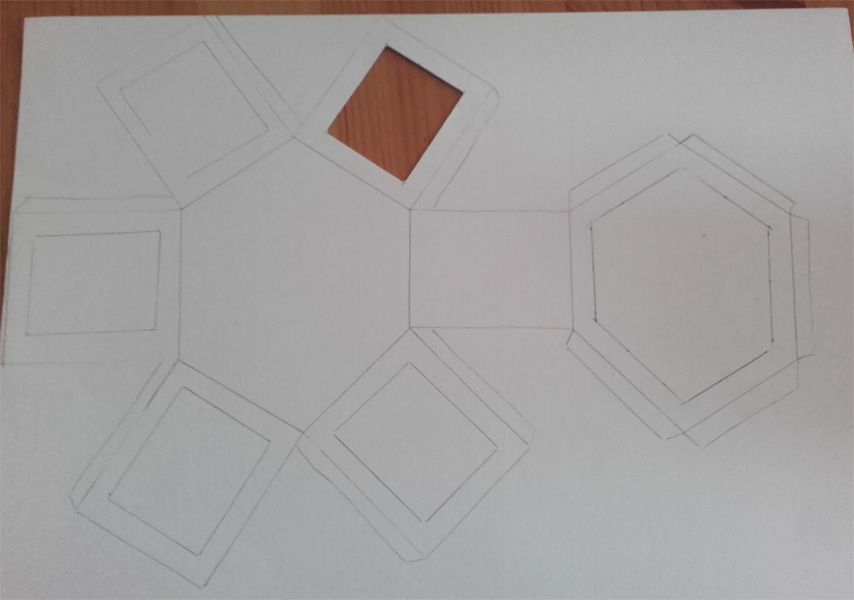
Then I used it as a guide on a piece of white cardstock.
After I drew in the 'windows' I cut it all out.
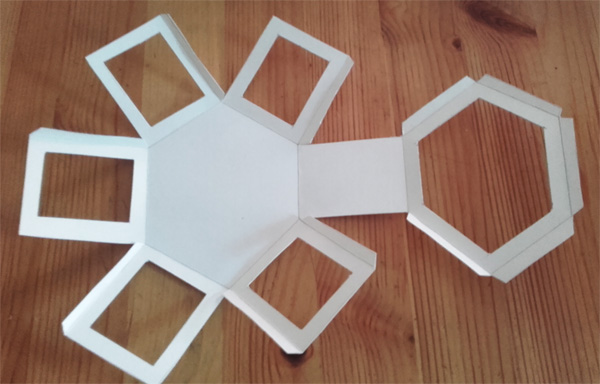
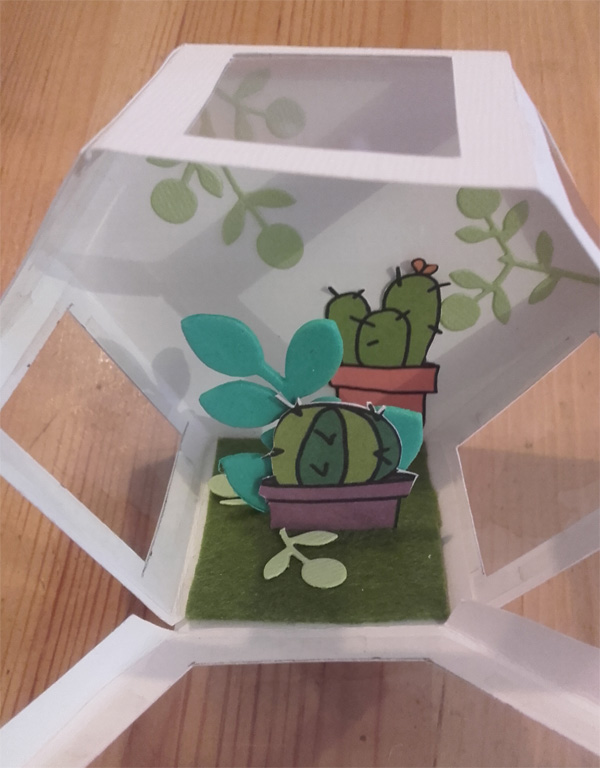
I taped plastic squares as windows and I glued all parts together to form my terrarium.
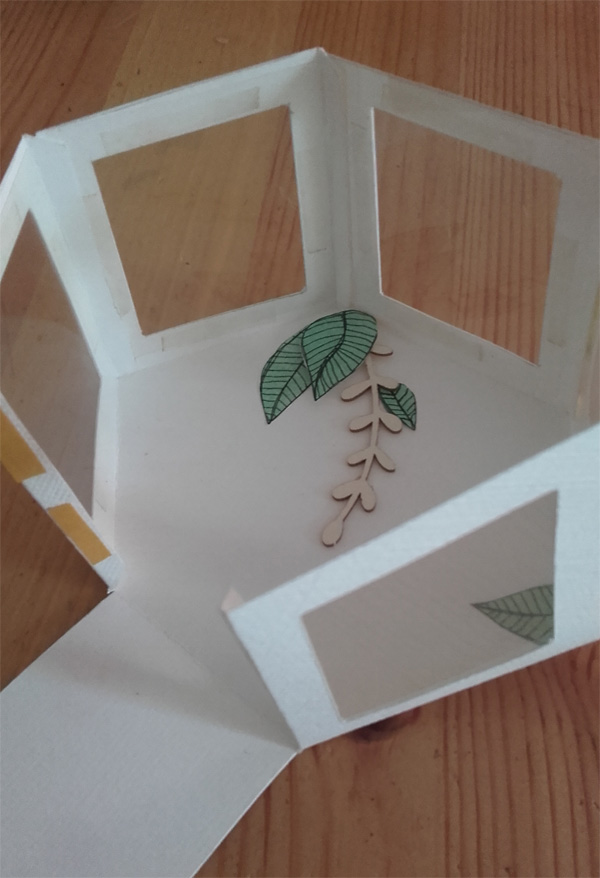
I added some decoration in the background. In this example I glued wooden leaves and leaves cut from a paper from Drawn To You | Papers.
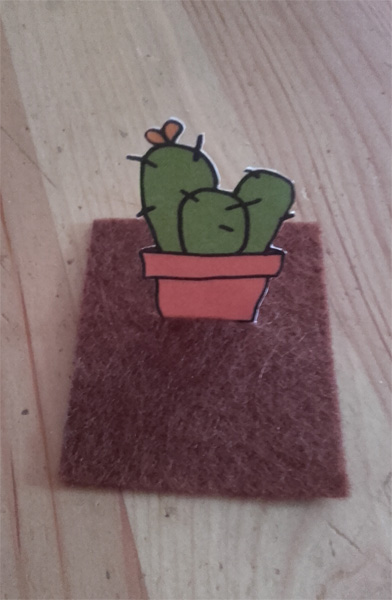
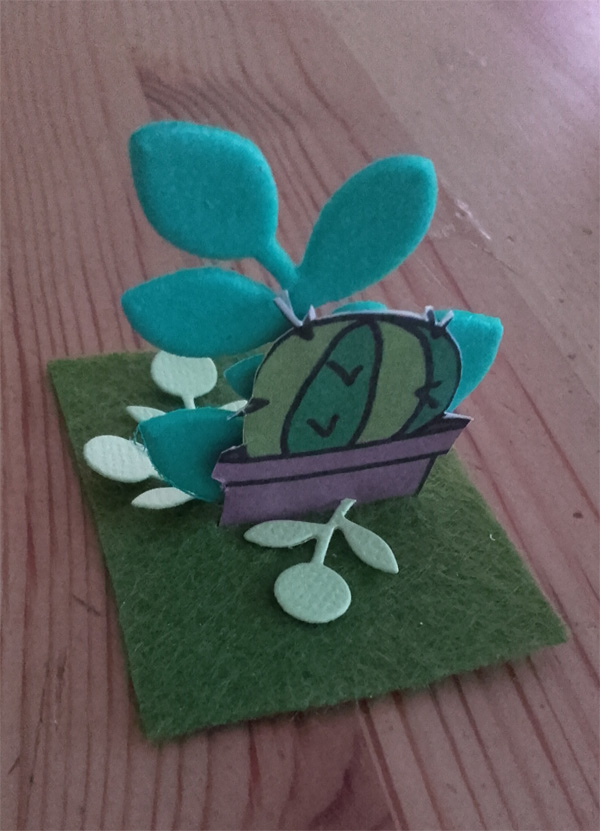
I cut a cactus from Homebody | Elements and I glued the bottom to a piece of brown felt.
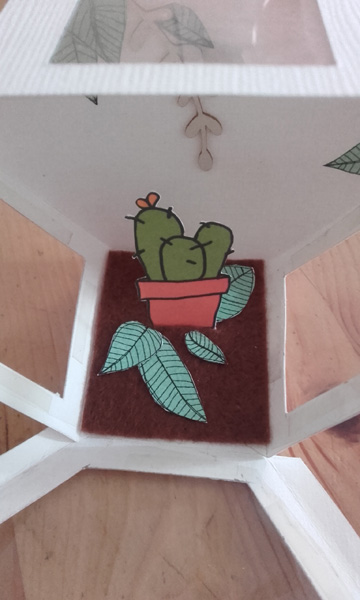
I added several leaves from Drawn To You | Papers paper and I glued them on the felt inside my terrarium.
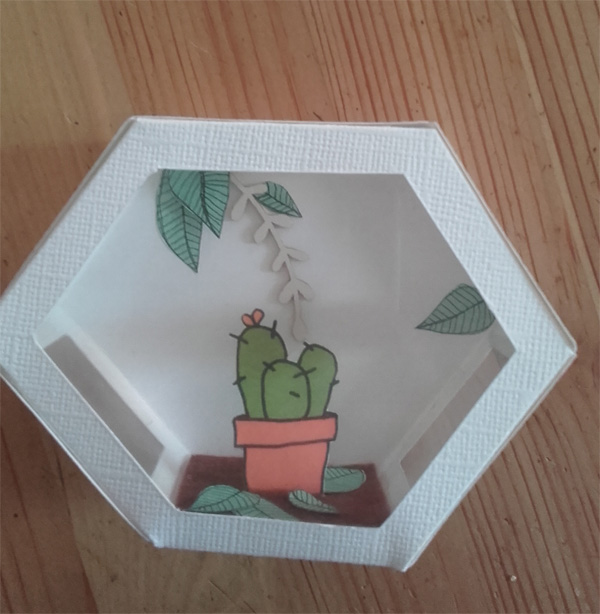
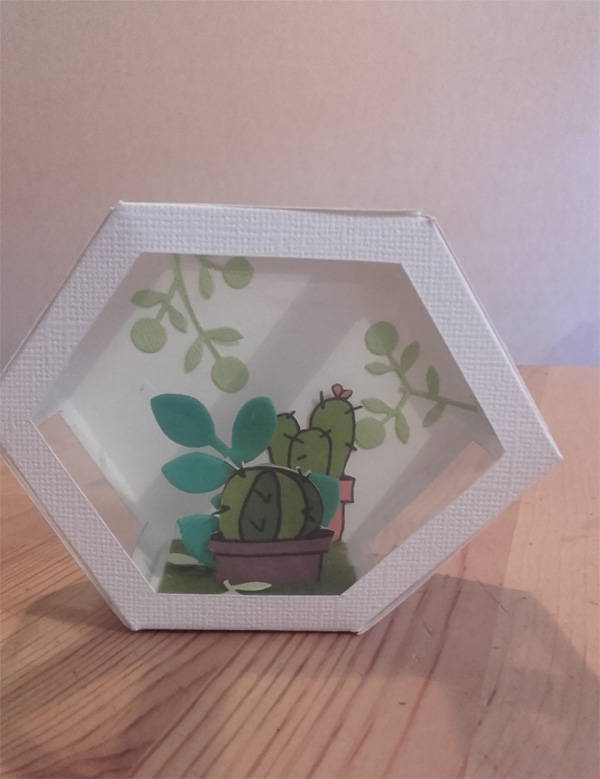
The last step is closing the box.
Voíla my first terrarium is done!
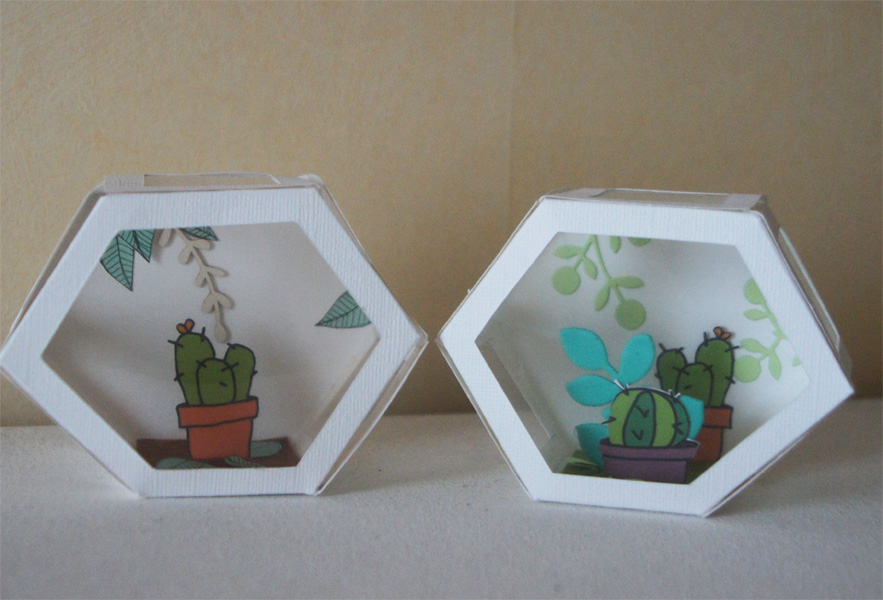
I created a second one with another cactus from Homebody | Elements.
Same process. Glued it on a piece felt.
I added leaves that I cut with my cuttlebug machine.
Some embellishments in the background to complete the scene.
And I closed the box.
My new terrariums are done, looking good and even better...they don't need watering!
After I drew in the 'windows' I cut it all out.
I taped plastic squares as windows and I glued all parts together to form my terrarium.
I added some decoration in the background. In this example I glued wooden leaves and leaves cut from a paper from Drawn To You | Papers.
I cut a cactus from Homebody | Elements and I glued the bottom to a piece of brown felt.
I added several leaves from Drawn To You | Papers paper and I glued them on the felt inside my terrarium.
The last step is closing the box.
Voíla my first terrarium is done!
I created a second one with another cactus from Homebody | Elements.
Same process. Glued it on a piece felt.
I added leaves that I cut with my cuttlebug machine.
Some embellishments in the background to complete the scene.
And I closed the box.
My new terrariums are done, looking good and even better...they don't need watering!
As always I hope you enjoyed my post and if I inspired you in any way, shape or form then by all means make a photo of your project and upload it to your gallery so you can leave a link in the comment section below! I'd love to see what you made!
No comments:
Post a Comment
Note: only a member of this blog may post a comment.