
Hi all!
This is Annemieke for this month's Hybrid on the Pink Reptile Designs blog
Last year I visited a blog of a very talented and inspiring Dutch girl, who wrote a blog about making your own personalized tea lights. I fell in love immediately and have made them as a gift to friends. Since her blog is offline, I decided to make my own tutorial to tell you how to make them.
Maybe you can make your own and wrap them up as a Christmas gift...
I have one very important note; I have never had problems burning the tea lights, but since the bottom is of paper it's only safe to burn them when you are next to them, please, never leave them unattended to prevent burn damage
To start making your own tea lights download the template
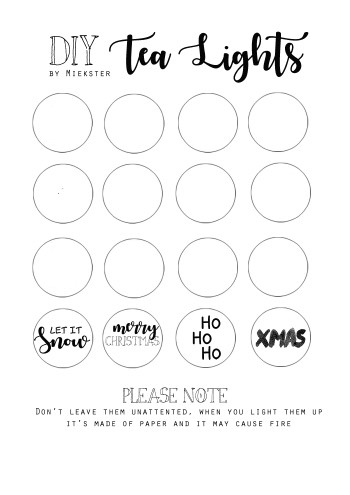
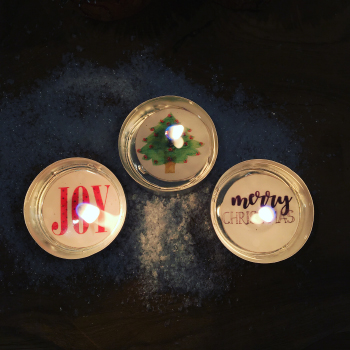
I used some Pink Reptile elements to fill the circles of the template, you can also add some text, like I did
I added some Christmas text to the template as a gift for you
Now, let's get started!
What you need:
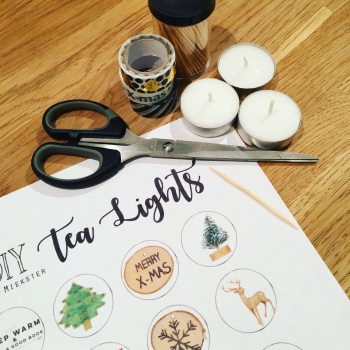
- template
- scissor
- tea lights
- toothpick
Fill up your template with elements or text of your own choice and print it out, ofcourse, I used some my favorite Pink Reptile Designs elements
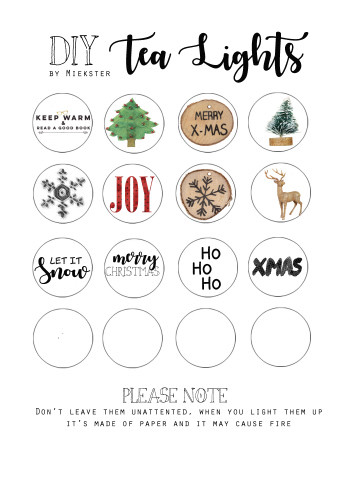
If you are ready filling the template, print it out on A4 format, this way the circles will fill the tea light perfectly
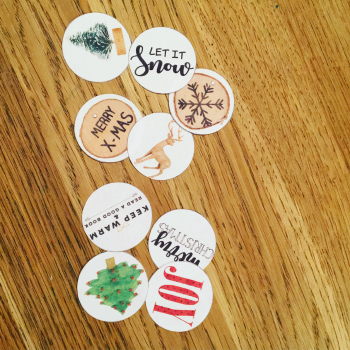
Cut them out
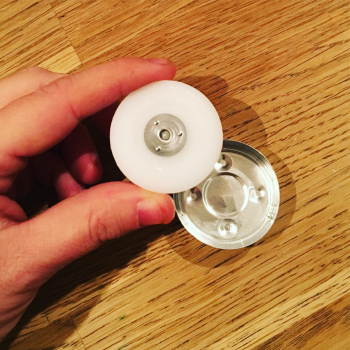
Now, prepare the tea lights. It's important to buy tea lights like shown on the picture below, you have to be able to pick out the metal circle with the candlewick
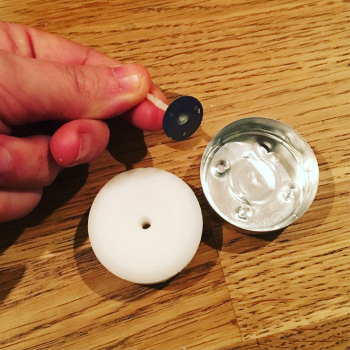
Take your paper cuts and make a hole in the middle with the toothpick
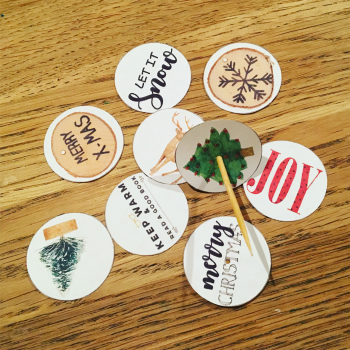
Turn the toothpick slightly around to make the hole a bit bigger. This way it will be easier to put them over the candlewick
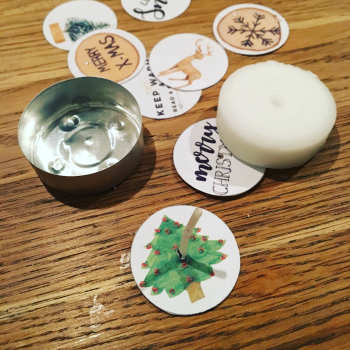
Slightly put back the candlewax and place them back in the tea light, now they are ready to burn...
After 45 minutes, the wax is all melted and transparent, this is what you will see
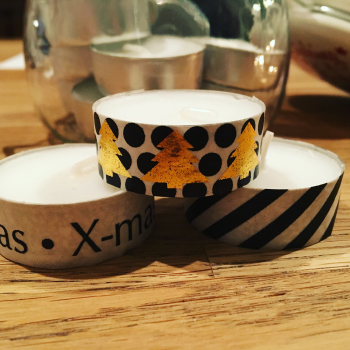
You can add some washi tape to the sides to make them more special
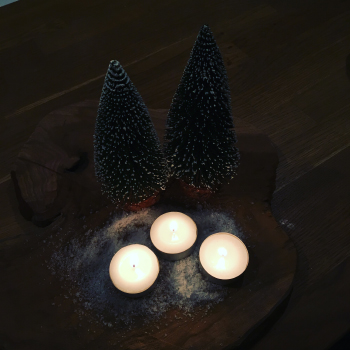
Make your own collection and put them in a jar to give to a friend, succes guaranteed

Hope you liked it! Wishing you lots of fun making your own!
No comments:
Post a Comment
Note: only a member of this blog may post a comment.