
Several weeks ago, I discovered shaker box cards while browsing and pinning on Pinterest.
I loved the idea so much that I decided I wanted to make one. It turned out better than I could have imagined and was so much fun to do that I decided to share the process with you!

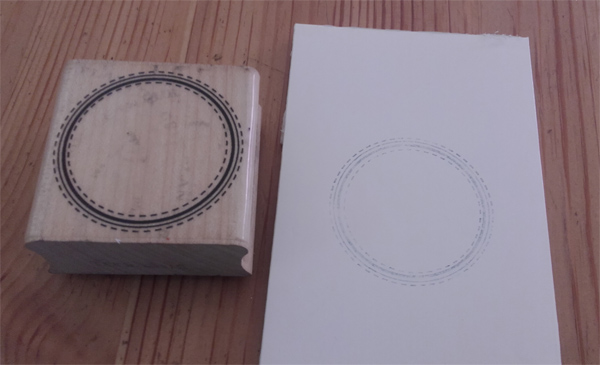
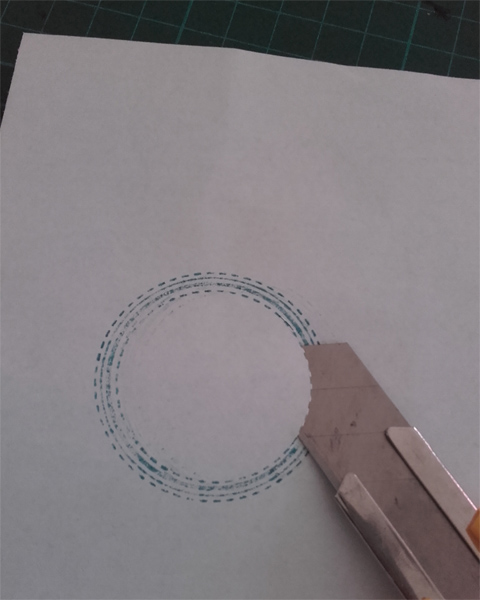
To create the shaker box, I cut a rectangle from a piece of foam carton. I stamped a ring stamp to draw a circle and then I cut out the inner circle.

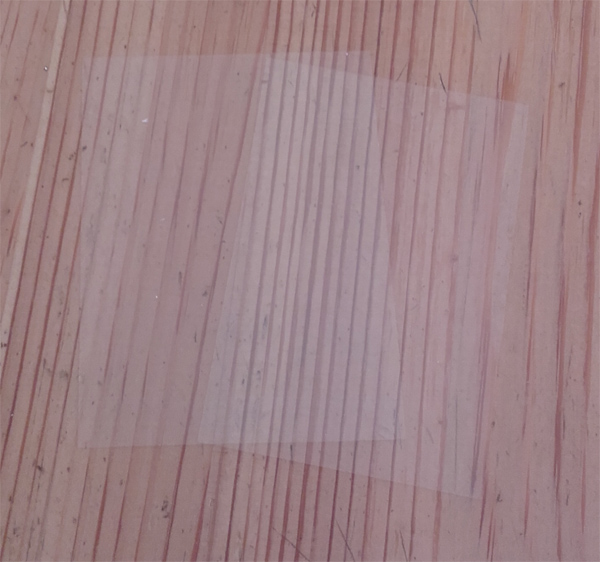
I cut two rectangles from a plastic sheet.
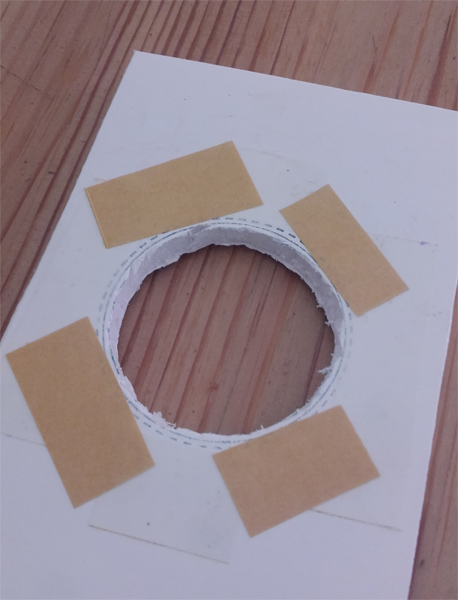
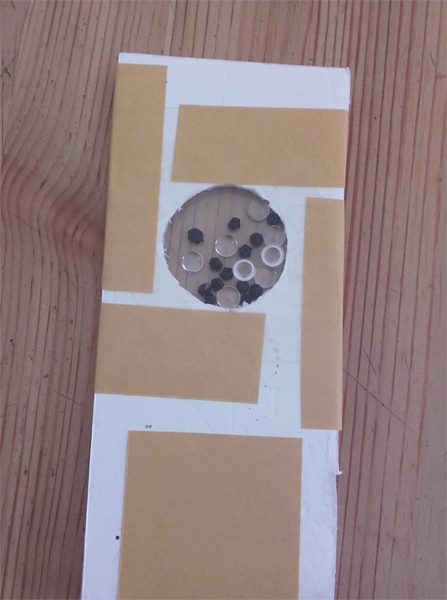
To close the inner circle, I used double sided scotch tape and adhered one of rectangles that I cut from the plastic sheet.
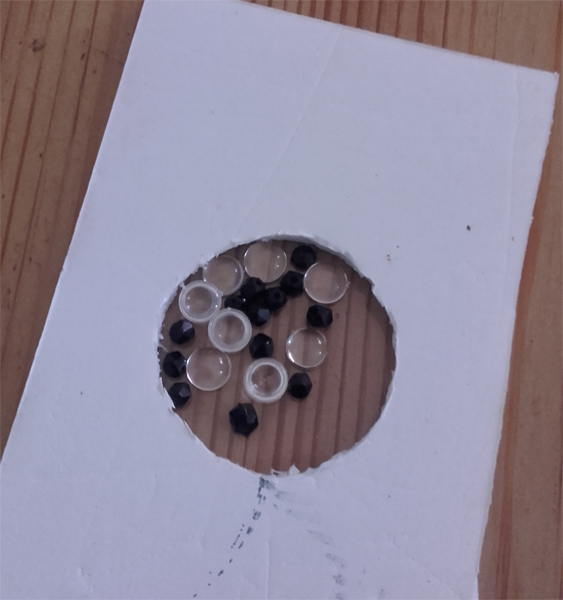
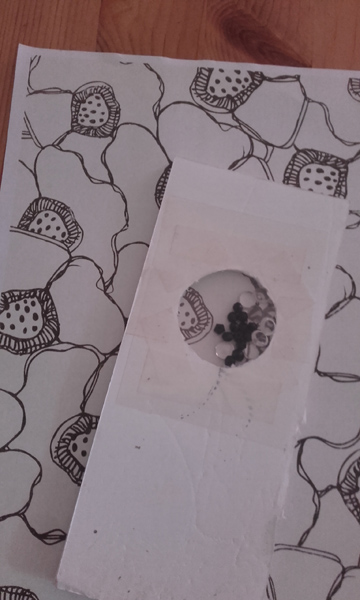
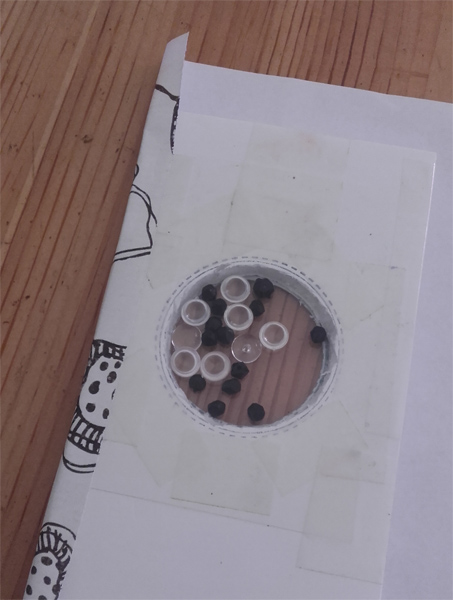
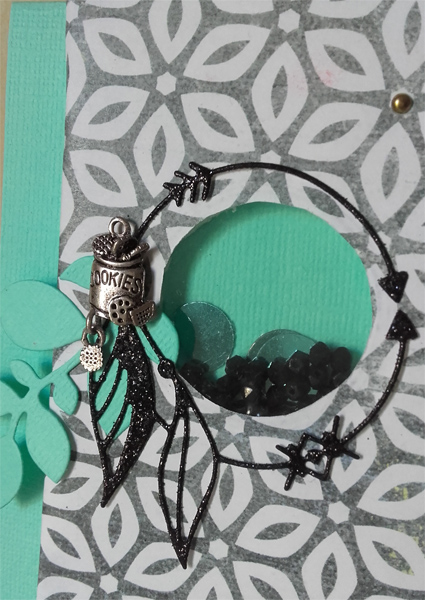
I filled the circle space with pearls [black and transparent]. I choose these two colors to match the paper that I selected before I started on my card.
I enclosed the pearls in the circle by adding the second plastic sheet.

On my printed paper [from Homegrown collab by Pink Reptile Designs and Amy Wolff ], I again used the circle stamp to indicate the circle gap.
I cut this circle to create a hole but made it a bit smaller to hide the irregular cutting edge in the foam.

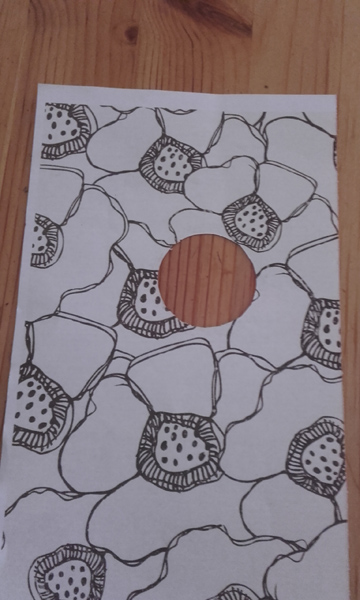
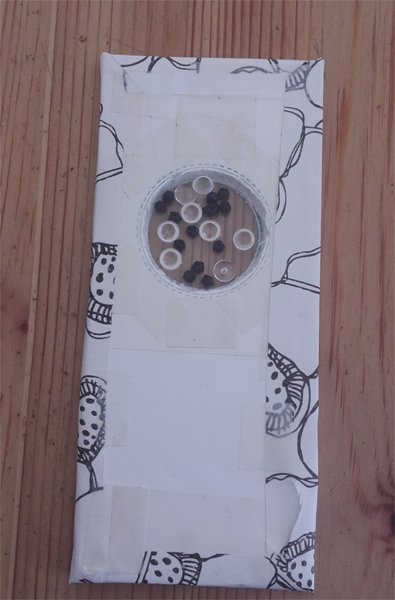
With double sided scotch tapeI stuck the patterned paper to the shaker box.
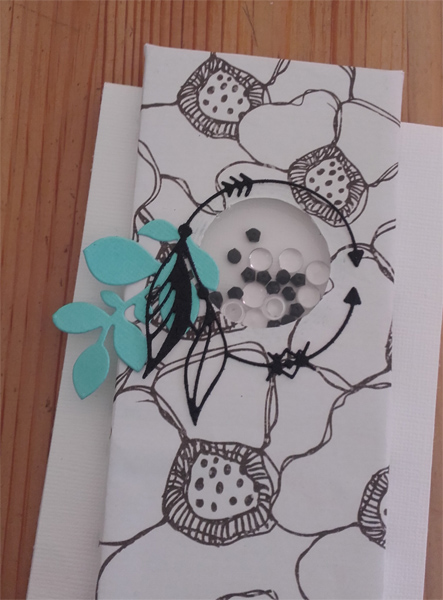
I wrapped the shaker box with the printed paper.
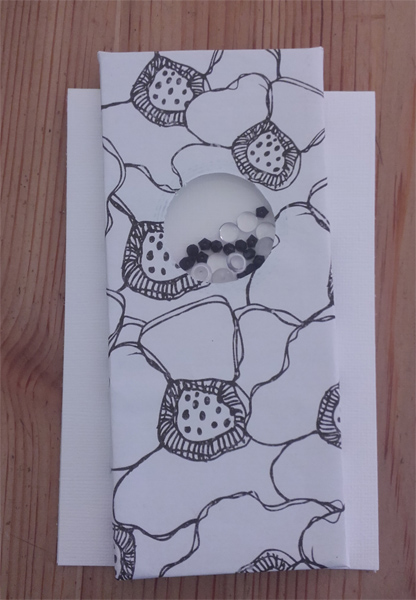
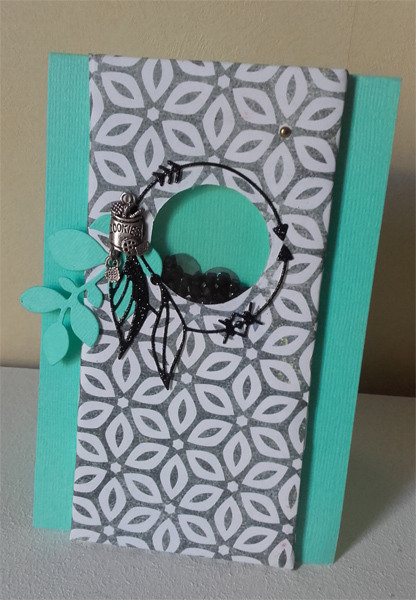
Then I glued the shaker box on my card made from white cardstock
I decorated my shaker box. For that, I cut several patterns with my cuttlebug machine: feathers in brown glitter paper and leaves from a blue cardstock.
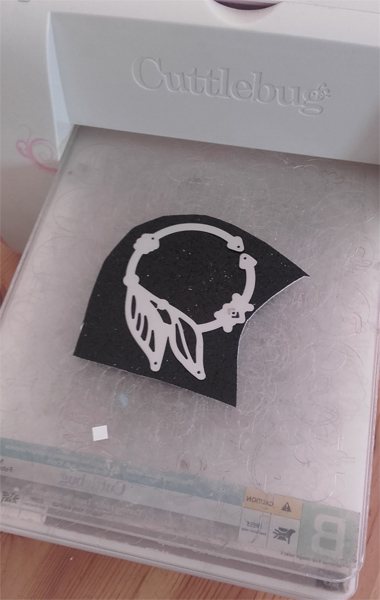
I glued these two decorations near the gap.
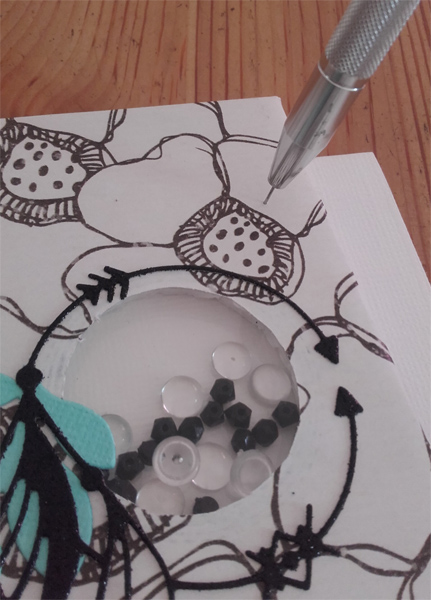
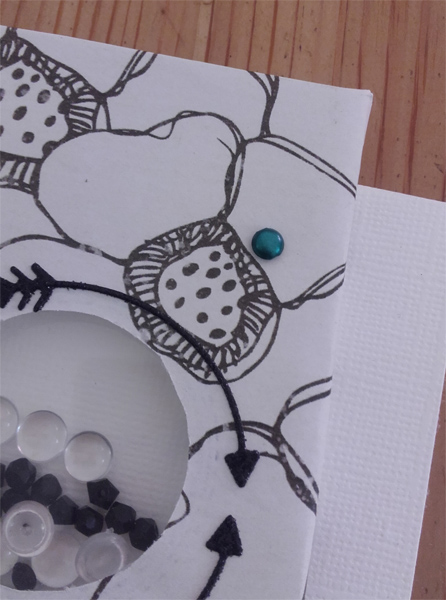
Then I pierced the foam carton to be able to add a brad.
To finish, I added a white resin flower.
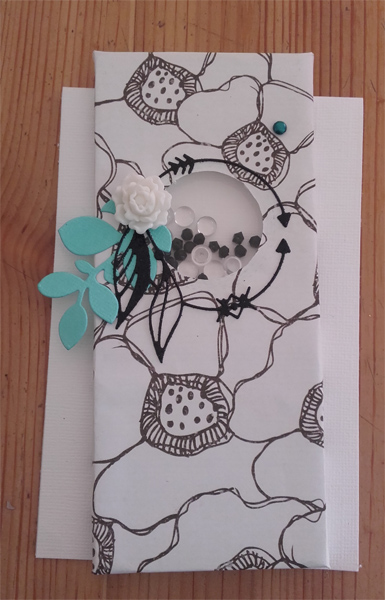
And voilá my shaker box is done !

I give you a second example created with another paper from Pink Reptile Designs [Forget Me Not | Papers]
I used a metallic charm in the place of the flower
As always I hope you enjoyed my post and if I inspired you in any way, shape or form then by all means make a photo of your project and upload it to your gallery so you can leave a link in the comment section below! I'd love to see what you made!
No comments:
Post a Comment
Note: only a member of this blog may post a comment.