
Hi everybody!
Today I want to show you a super quick way to give your pages a bit of custom colour with brushes or stamps that come in a kit or an element pack. It can be anything and I have used this technique on larger watercolour stains, splatters, frames, whatever you can cover with colour, but today I show you an example with a number of water stain brushes.
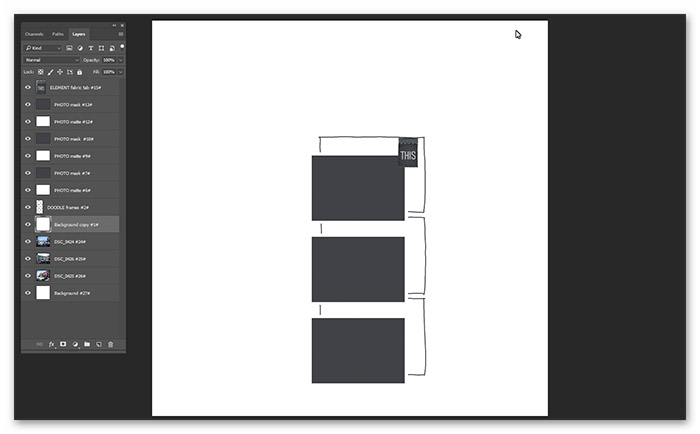
For my page with three horizontal photos I looked for a simple template and found a "Sprung" Template which I really liked - especially because of the handdrawn frame around the photos.
I removed everything except for a little tag (which will go later, too) and rotated the whole thing by 90°.
I added the photos...
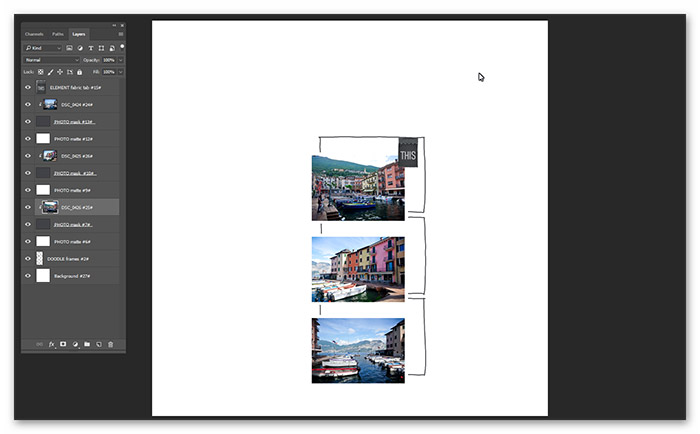
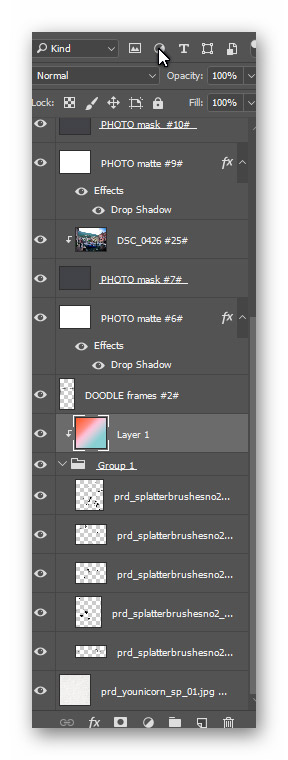
...and then five different water stain brushes from the Splatter Brushes No. 2 and grouped them together.
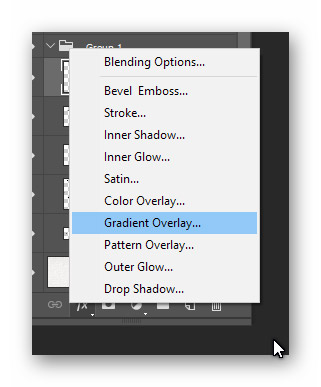
Now you have two options:
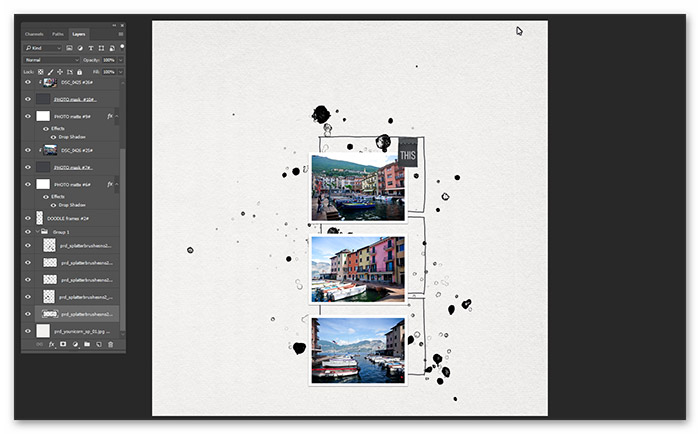
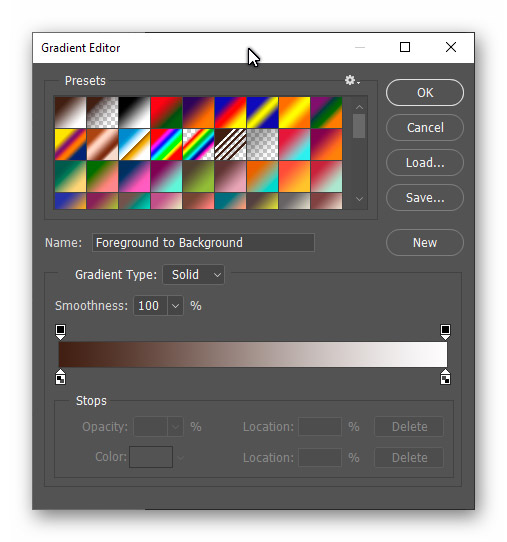
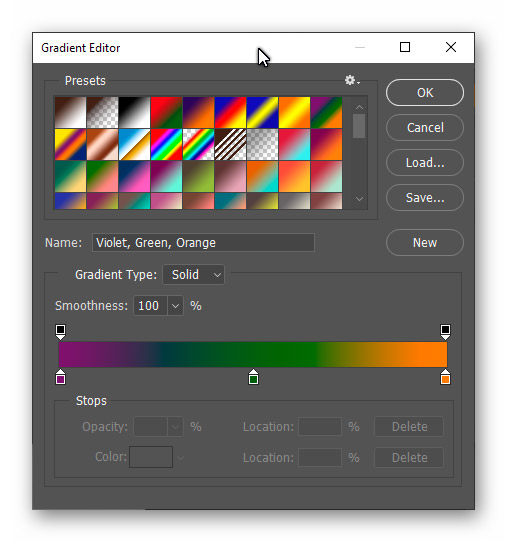
1. You create a layer on top of your group and fill it with the gradient tool. Just click on those little icons that look like a house and change the color with the colour picker, add colours and play with the sliders to give one colour more room than another. In my example I used three colours that I culled from the preview of the Younicorn kit that I am going to use. Alternatively pick colours from a photo.
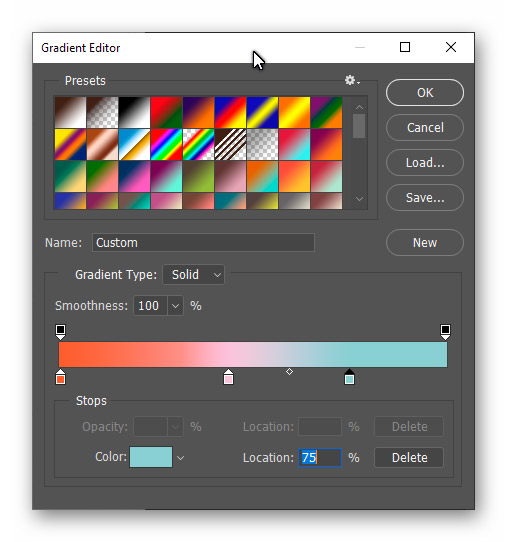
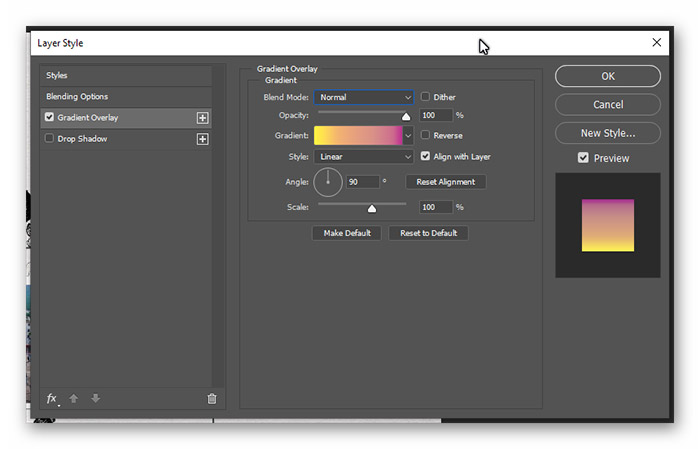
This is what my gradient looks like:
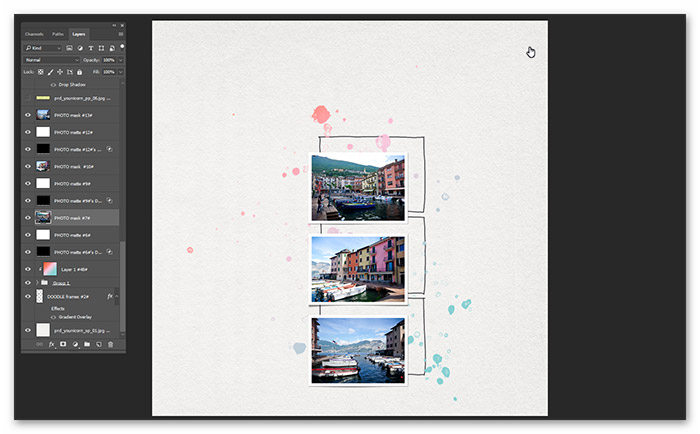
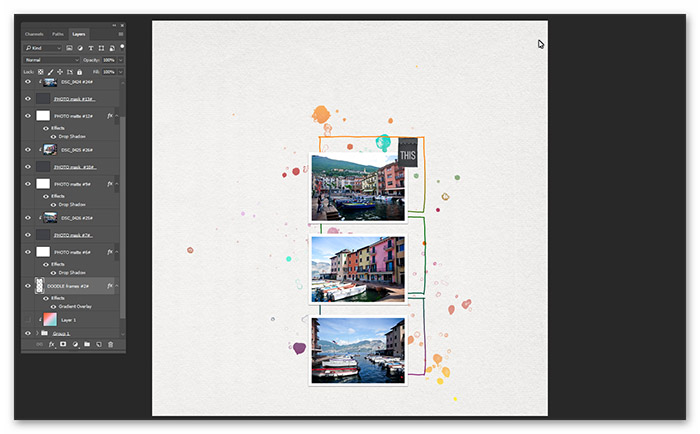
And this is how the water stains look. The advantage of the grouping is that your one gradient layer covers all five layers in the group underneath in one fell swoop.
2. You create a gradient overlay for each individual layer as a layer style (or again a layer on top of each stain layer, but that's too much work). Make sure your blend mode is normal (unless you wish it otherwise for another effect). I used a different gradient for each stain layer, but chose ready made gradients that PS offered. They worked fine with my colour scheme.
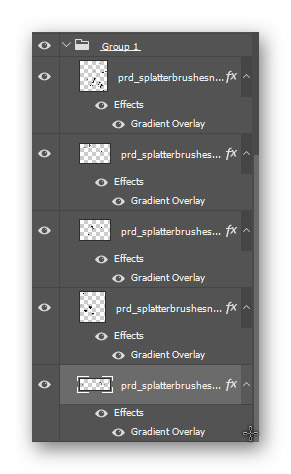
This is what the stains look like with five different gradient overlays.
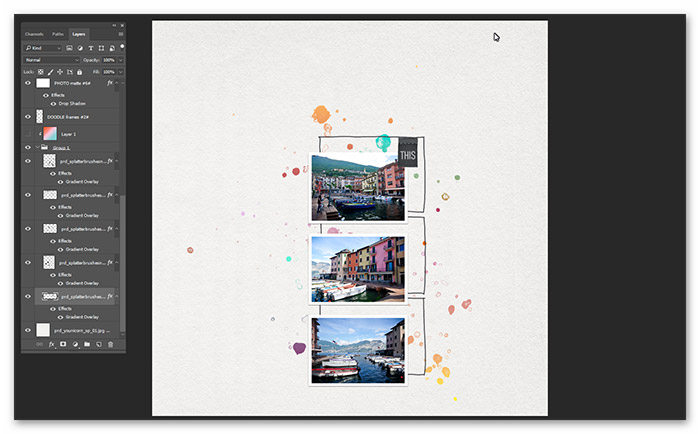
Then I also added a gradient overlay to the hand drawn frame (again, the gradient was ready-made - easy peasy).
This my page so far with my coloured stains and frame.
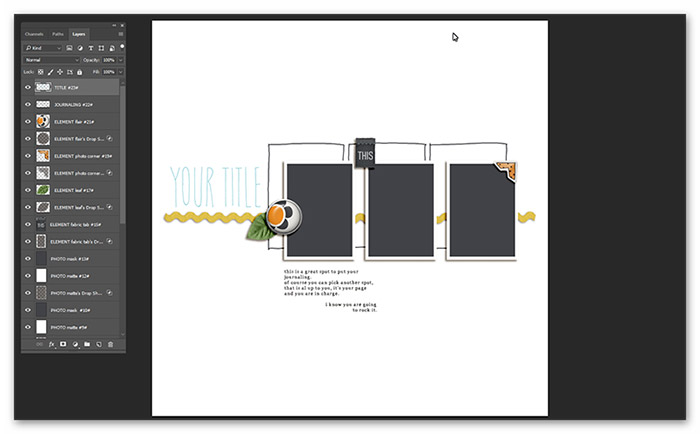
Then I finished my layout with all the usual odds and ends. Here are my two results.
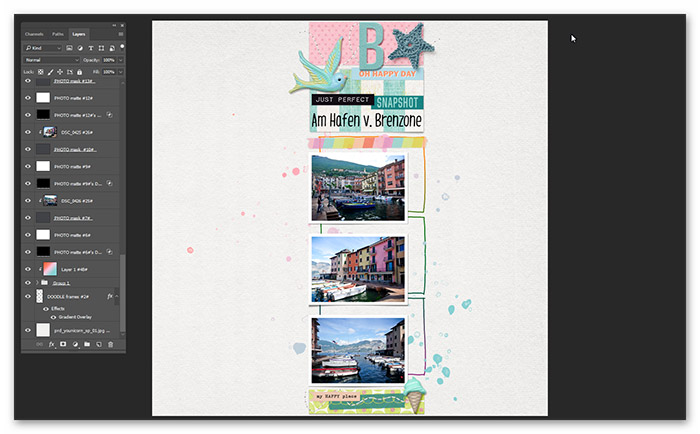
With one gradient layer on top of the five stain layers:
Five separate gradient overlays:
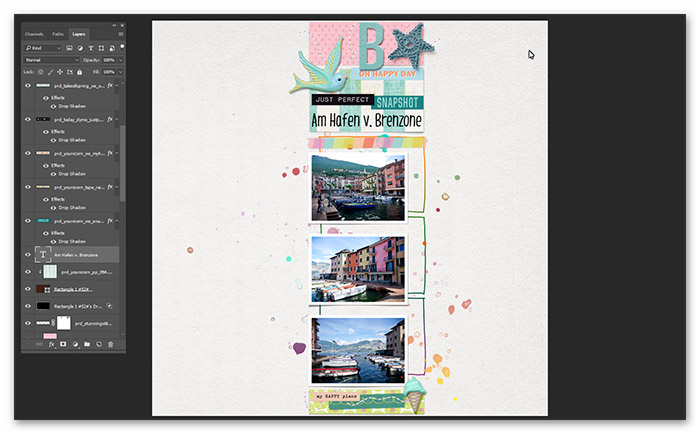
I like the second one with the more colourful look way better and decided to go with this one. And here is my finished page:

No comments:
Post a Comment
Note: only a member of this blog may post a comment.