
I'm always on Pinterest looking for inspiration, especially when it comes to scrapbooking. One thing there is no shortage of is Retro or Vintage style Logos. I thought it might be fun to try to make our own with some of the pieces of Word Art in our kits. I found this cool design by SoCanny.
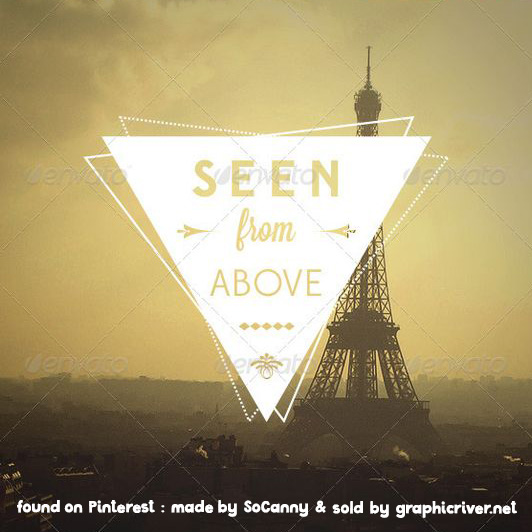
Let's see if we can recreate this but with our own word art and elements. First I grabbed some Word Art from the Garden Party Word Art pack by Pink Reptile Designs. Then I used the Polygon Tool (nestled under the Rectangle Shape Tool) and choose 3 sides to form a triangle.
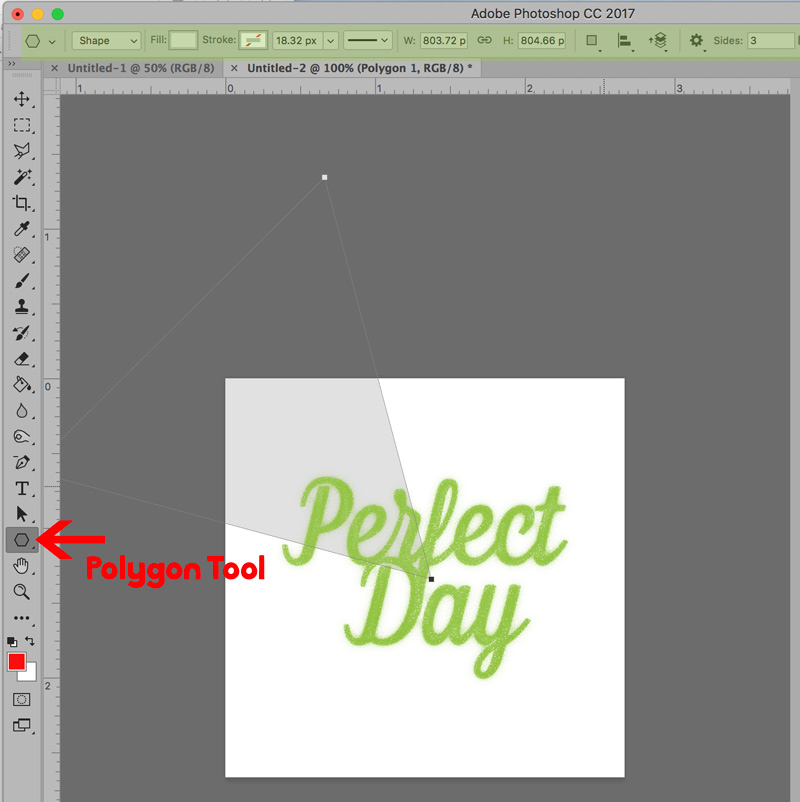
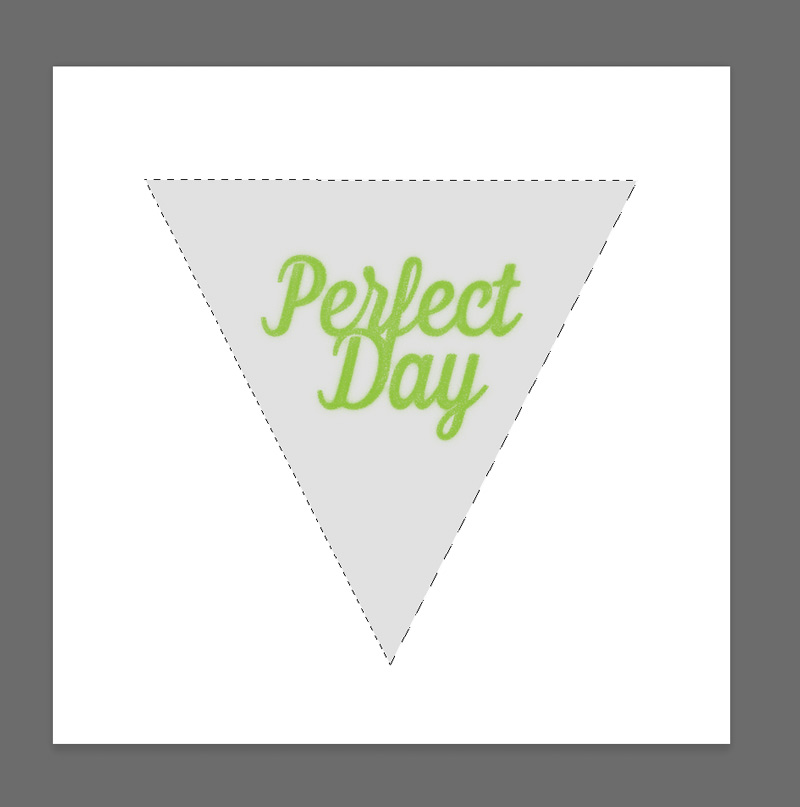
I rotated and slid it into place to fit nicely around the Perfect Day word art.
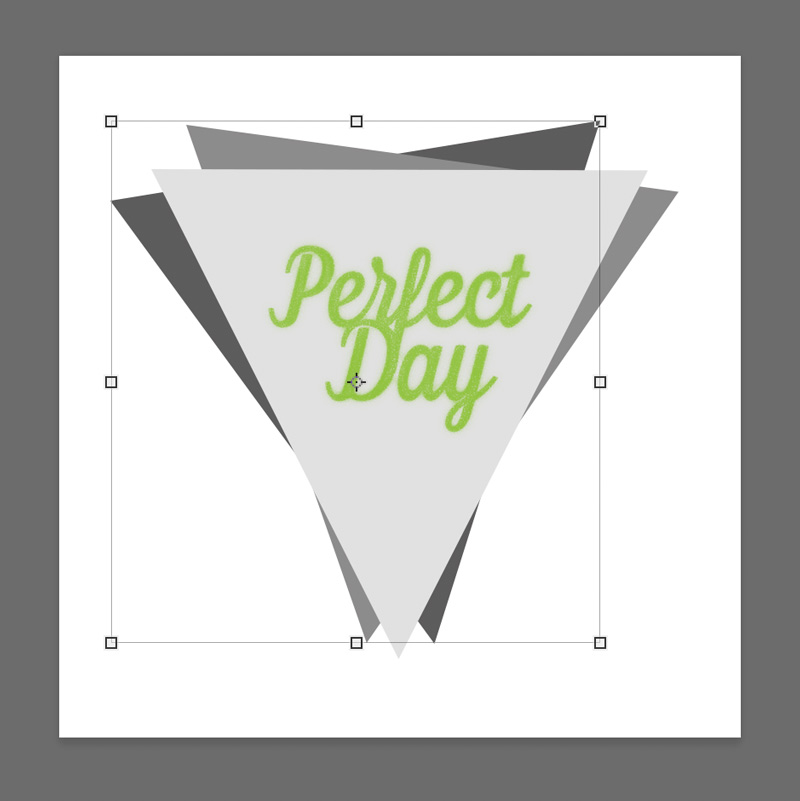
Next, I made 2 copies of my triangle shape. I colored each one a slightly different grey, so I could easily see them. I rotated the 2 copies.
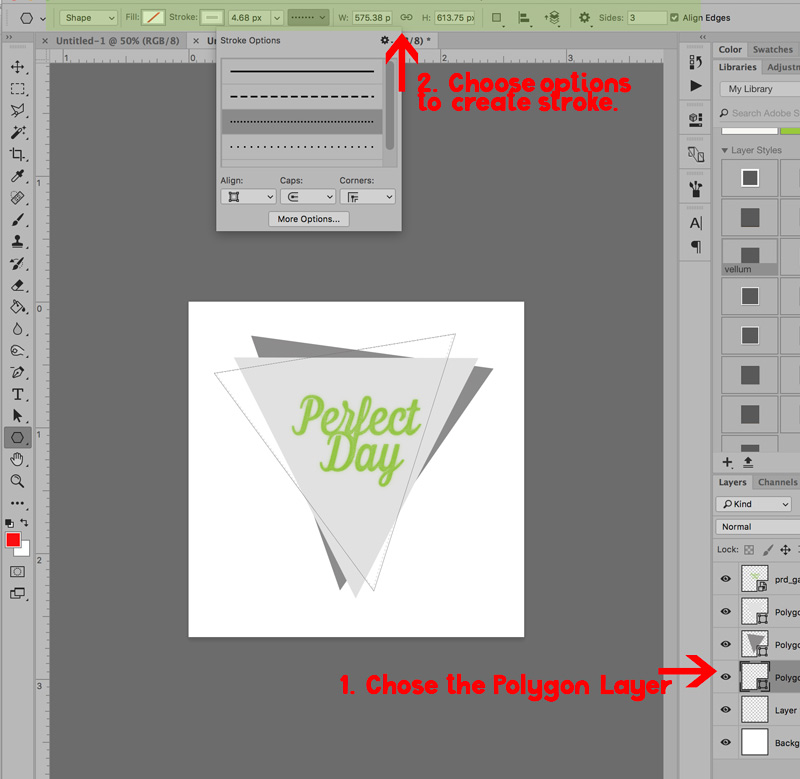
Now I am going to change the 2 copies from a solid filled triangle - to just the outline of the triangle. One will have a stroked line and the other will be a dotted line. To do that select one of the triangle shapes in your layers palette. Then go to the options bar at the top of PS to change the Fill to None. Pick a color for your stroke (I selected the same color as the original triangle so everything will be one color for my final design - but the color is up to you). Select the pixel stroke width to determine how thick your line will be. You can see in my screenshot - mine is 4.68 px wide. (the W and H parameters are for the entire triangle shape - so don't worry about that.) Do the same for the other triangle copy, but choose the stroke options by clicking on the drop down box and selecting dotted line (or whatever appeals to you).
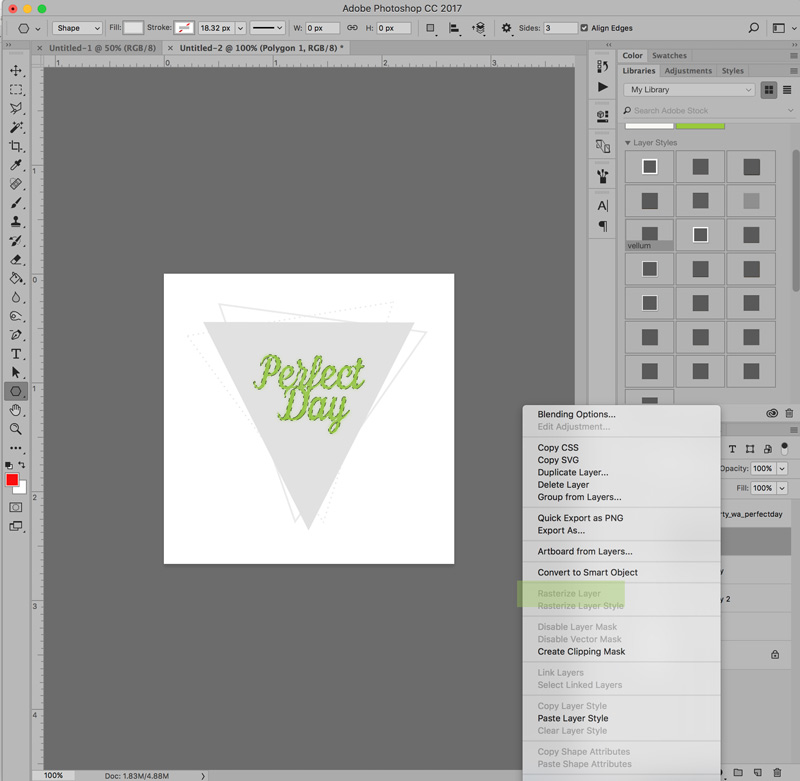
Now it's time to use our word art to "punch out" the text in the main solid triangle. Click on the word art layer in your layers palette (make sure the word art layer is rasterized and not a smart object - right clicking over the layer and selecting Rasterize Layer will take care of that for you. If it is greyed out - you are good to go!). Command click (on a Mac) or Control click (on a PC) over the thumbnail of the word art in the layers palette to select all of it - you will see marching ants around the text. Then select the original solid triangle layer. Press delete.
It won't look like anything happened right away. But if you deselect the word art (Command D - Mac, or Control D - PC) and then delete or hide the word art layer, you will see that the fill on the original solid triangle layer is "punched out" where the text was. Here's my logo inspired custom Word Art.

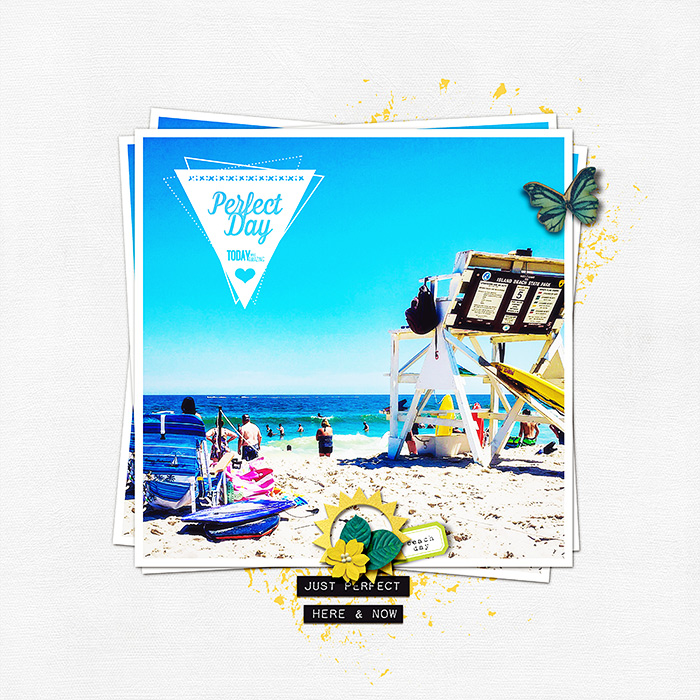
Continue this process with other word art pieces, doodles, or elements to create a custom vintage logo style piece of word art from your element packs. I also used "Today was Amazing" Word Art from the Today Elements pack, a doodled line and a plastic heart element from Homebody Elements pack to complete my final custom Word Art. And here's how I used it on a scrapbook layout.
If you try this we'd love to see what you create. Thanks for stopping by!
Very cool idea! Thanks for sharing! :)
ReplyDelete