
In this post I am going to show you how I made a cute little mini album with all Pink Reptile products that I made from a fun family trip. I am a little late scrapping these photos because they are of the first time my kids discovered sled riding.
I knew I had to make this album though because I wanted to preserve the memory of that day.

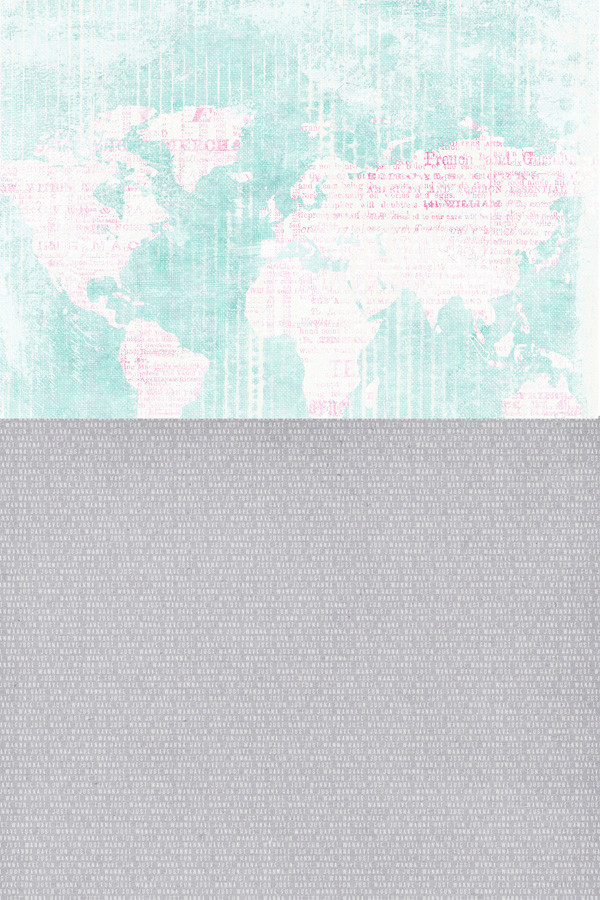
Papers from HeArt [blue] and Ta-Dah [grey]
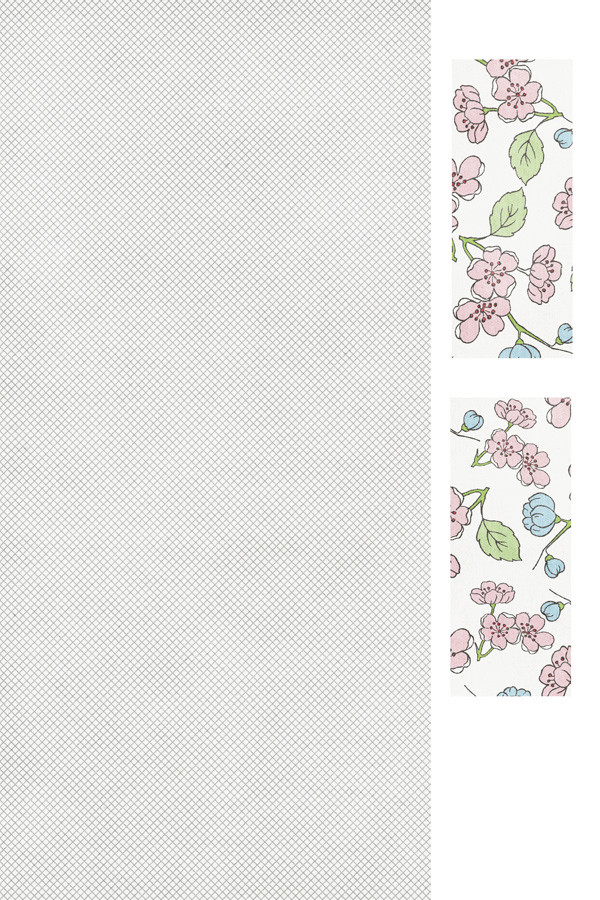
Papers from Garden Party
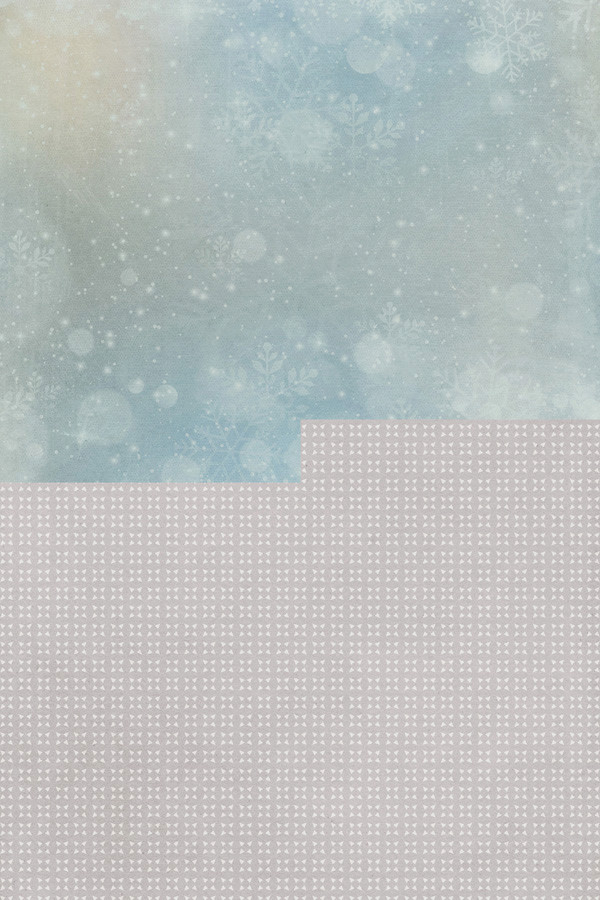
Papers from It's Cold Outside
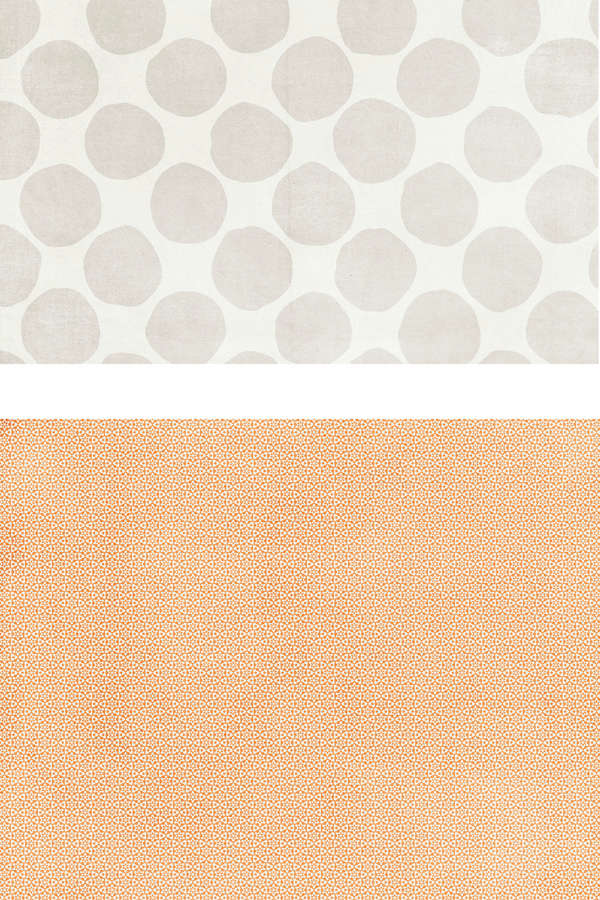
Papers from Garden Party [orange] and Ta-Dah [grey]
I printed all these on thick white paper along with a bunch of elements for decoration of my album.

CREATING MY ALBUM:
Step 1: I cut the pages of my future album and folded each of them in half.

Step 2: I decorated each page by adding photos and some elements.
The first page of my album has one photo:

I added tag [from Awesome Sauce], white leaves and a word strip [from All Eyes On You] on the photo:

On the left part, I stamped a french text with black ink.

And adedd a tag [from XOXO].

As a finishing touch I added the yellow gel dots.
--------
I folded the second page in three parts to create a flap.
Background paper is from Garden Party and I cut a piece of paper with big polka dots from Ta-Dah
and glued it on the flap.


Elements and stamp on the backside.

Then I cut another photo up so it fit on the left and middle page of my album. And added a bunch of elements.


Lastly I also added a few elements on the flap.

----------
For a third page I used a simple decoration by adding just 3 elements to my photo[tag from Awesome Sauce, word strip SMILE from Me, MySelfie and I)


And here I added two small stamped arrows.

-------------
For the next page, I created a flap at the bottom..


---------
I used two photos for the next pages and of course a few elements.


---------
The last page of my album has only one photo.


-------
Step 3: Build the album and create the cover
Once all pages were decorated, I glued them back to back,page by page.
Then I cut a large piece of paper as cover:

I glued the paper as cover of my album :

I decorated the front cover with different elements from Me, My selfie [camera], It's Cold Outside [word strip COLD] and Spring Flutters [pink tape]:


And to finish I added a word strip COLD from It's cold outside as my album title.

My album is finished !
As always I hope you enjoyed my post and if I inspired you in any way, shape or form then by all means make a photo of your project and upload it to your gallery so you can leave a link in the comment section below! I'd love to see what you made!
No comments:
Post a Comment
Note: only a member of this blog may post a comment.